If you’ve ever wondered how makers get those crisp edges and smooth surfaces, the answer usually starts with choosing the right polymer clay cutters and learning a few simple techniques. This guide walks beginners through prep, cutting, baking, and finishing, one step at a time.
Table of Contents
1. Start with a Clean Slab
Before you cut anything, your clay surface needs to be smooth and dust-free. Fingerprints and particles are nearly invisible on raw clay but show up clearly after baking.
Work on a non-porous surface like glass or an unglazed ceramic tile. This keeps the underside of your slab flat and prevents the clay from picking up texture. Before cutting, lightly dust the top of your slab with cornstarch, or smooth it over with a barely damp baby wipe. Either method removes surface imperfections before your polymer clay cutters touches the clay.
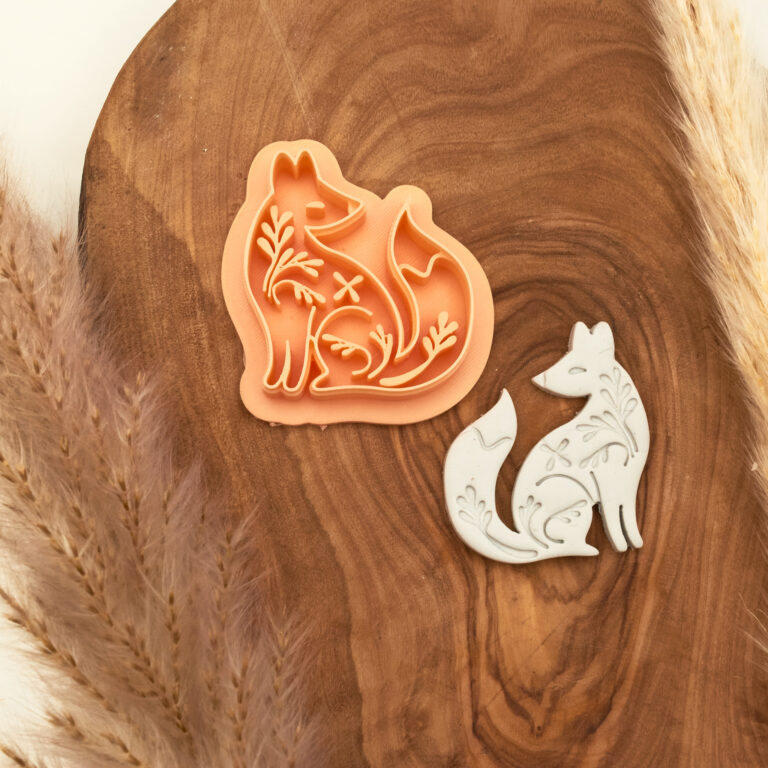
2. Use the Right Polymer Clay Cutters
The most common beginner frustration is ragged or torn edges after cutting. This is almost always a cutter problem, not a technique problem.
Look for polymer clay cutters with a tapered cutting edge of 0.4mm or less. The thinner the blade wall, the less clay it displaces, and the cleaner the cut. Avoid generic cutters with thick walls — they drag through the clay rather than slice it.
Press straight down with even pressure and lift straight up. Rocking or twisting the cutter as you lift is the main cause of torn edges.
For a softly rounded top edge, lay a sheet of plastic wrap over your slab before pressing the cutter down. This gives a domed, polished look without any extra finishing work.
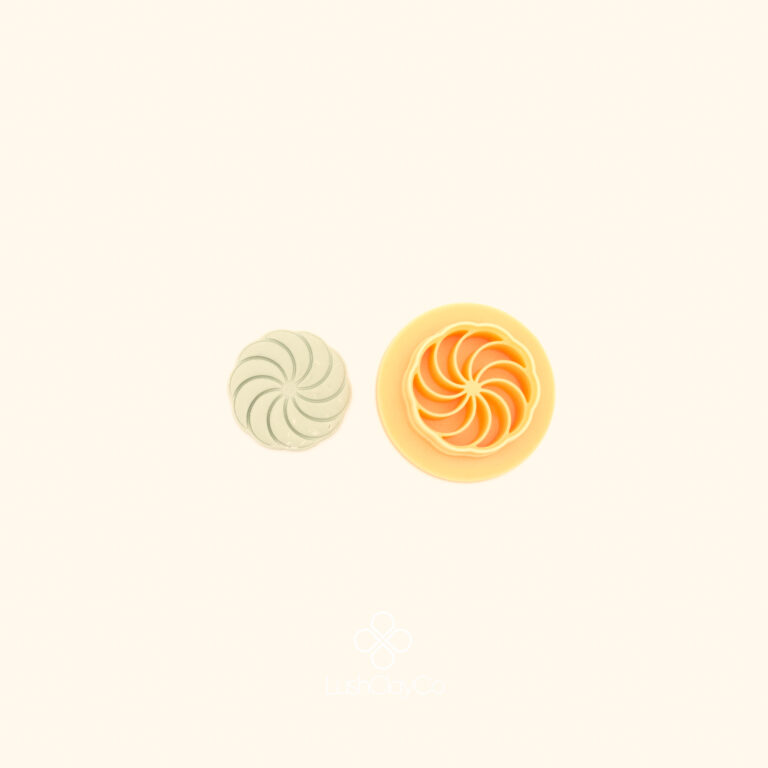
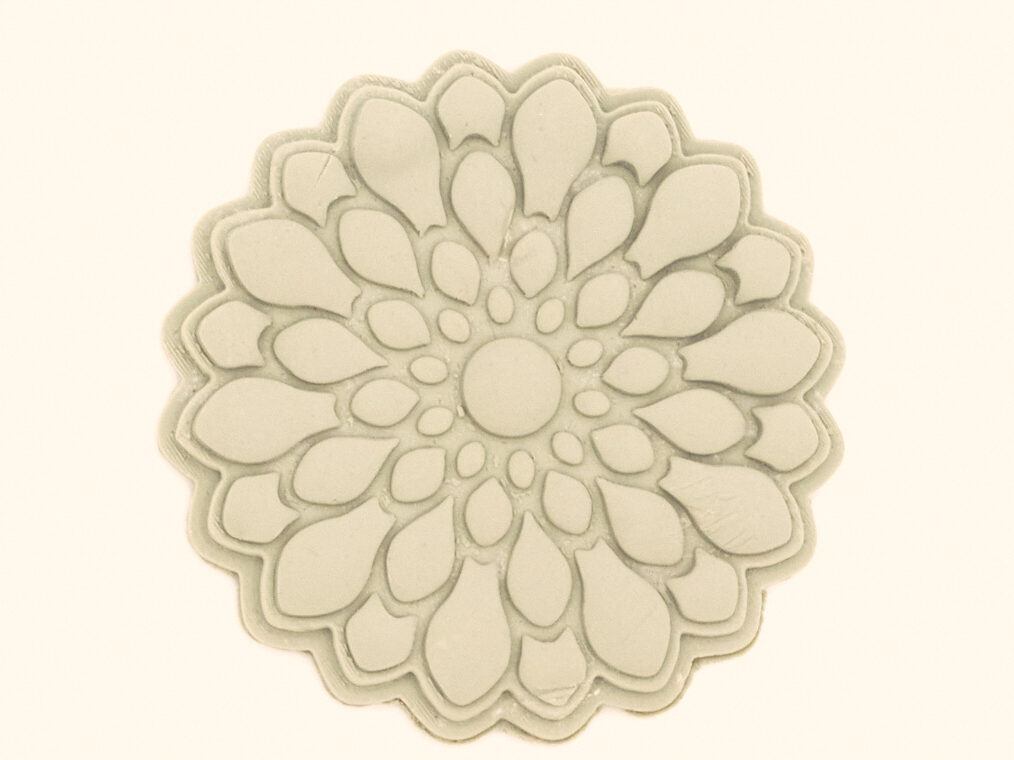
A good starting point if you want to see the difference a sharp cutter makes is the Saray Rosette — the detail on that design makes edge quality very visible.
3. Clean Your Pieces Before They Go in the Oven
Sanding after baking is slow. You can skip most of it by cleaning each piece first.
Dip a cotton swab in 100% acetone (pure acetone, not regular nail polish remover which contains added ingredients). Gently rub it over the edges and surface of each cut piece. It dissolves fingerprints and small bumps and leaves the surface noticeably cleaner going into the bake.
Also check that your oven rack is level. A slight tilt causes clay to shift and slump during curing, which ruins a flat finish.
4. Bake It Properly
A bad bake can ruin a perfectly prepared piece. The two most common problems are scorching and uneven curing.
Cover your tray loosely with a tent of aluminium foil. This stops the heating elements from scorching the surface, which causes discolouration, especially on light and white clays.
Use a standalone oven thermometer. Most home ovens run 10 to 20 degrees off their stated temperature, and over-baking polymer clay is irreversible. Most brands cure best between 110 and 130 degrees Celsius. When in doubt, bake at the lower end of the range for longer rather than hotter for less time.
5. Finishing After the Bake
Once your pieces are fully cooled, rub the surface lightly with a scrap of dry denim before applying any coating. The weave smooths out any remaining micro-texture and brings up a faint natural sheen.
For a glossy finish, UV resin gives the most durable result but requires a UV lamp and careful application to avoid pooling at the edges. A polymer clay cutters varnish applied in two thin coats is more forgiving and works well on detailed or textured surfaces. Apply a matte varnish if you prefer a flat finish — it still protects the surface and deepens colour even without adding shine.