If you have just started working with polymer clay and your blocks feel stiff, crumbly, or impossible to roll smoothly, you are not doing anything wrong. Polymer clay needs to be conditioned before it is ready to use, and conditioning polymer clay without pasta machine is completely achievable with just your hands and a few simple techniques.
This guide covers everything a beginner needs to know about conditioning polymer clay without pasta machine, including how to tell when your clay is ready, how to handle problem clay, and why conditioning directly affects the quality of your cuts and finished pieces.
Table of Contents
What Is Conditioning and Why Does It Matter
Conditioning polymer clay without pasta machine is the process of warming and working the clay until the plasticizers inside it are evenly distributed and the clay becomes soft, smooth, and pliable throughout. Fresh clay straight from the packet can feel firm and resist working. Older clay can feel crumbly or stiff. Both need conditioning before they are ready to cut or shape.
Unconditioned clay is unpredictable. It can crack along cut edges, resist detail, and produce uneven results no matter how good your technique or tools are. Properly conditioned clay cuts cleanly, holds detail well, and behaves consistently from piece to piece.
Conditioning polymer clay without pasta machine also directly affects the strength of your finished pieces after baking. Clay that has not been fully conditioned can have weak spots or micro-cracks that only become apparent after curing, leading to pieces that snap unexpectedly during finishing or wear.
How to Condition Polymer Clay Without Pasta Machine
The process of conditioning polymer clay without pasta machine is straightforward but does take a few minutes per block, especially with firmer clays. Here is how to do it step by step.
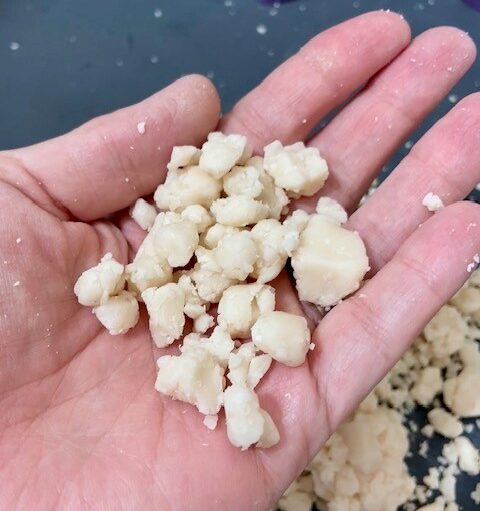
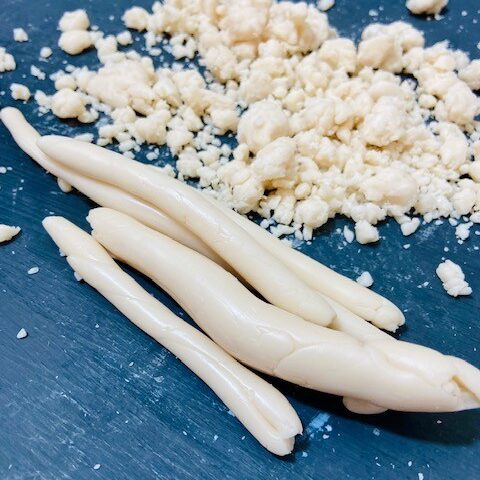
Start by cutting or breaking your clay block into smaller pieces. Working smaller amounts is much easier than trying to condition a full block at once. Aim for pieces roughly the size of a large marble or smaller.
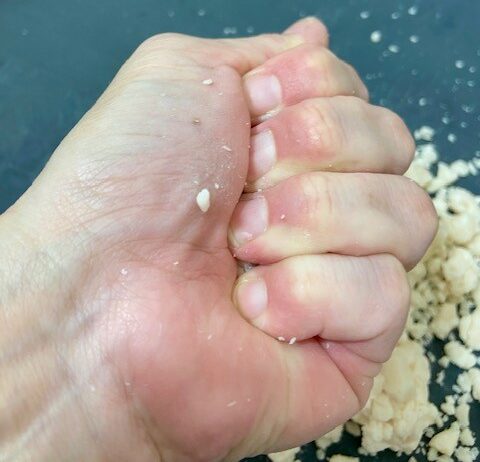
Warm the pieces in your hands for thirty seconds to a minute before working them. Body heat softens the clay significantly and makes the initial kneading much easier. Some makers place clay pieces in a small zip-lock bag and sit on them for a few minutes, which works just as well.
Begin kneading each piece like dough. Fold it, press it flat, fold it again, and repeat. You are looking to work out any stiffness and create a uniform texture throughout. At first the clay may feel resistant or even crumble slightly at the edges. This is normal and will resolve as you continue working it.
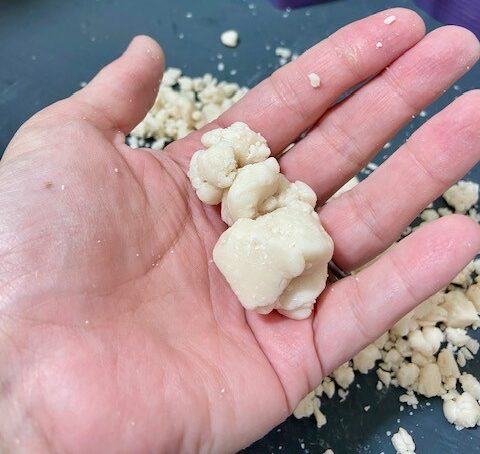
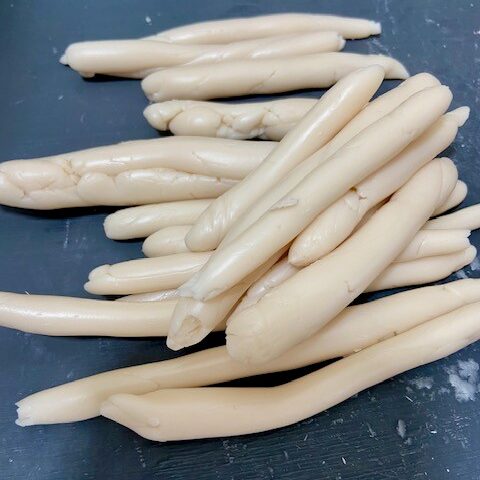
Once each small piece is soft and smooth, combine them by pressing them together and continuing to knead the combined mass. Work the clay until the entire amount feels consistent, with no stiff or soft patches.
Roll the clay into a snake shape and fold it back on itself, then roll again. Repeat this several times. This technique is particularly effective at working out inconsistencies and aligns the clay’s structure in a way that improves cut quality.
How to Tell When Your Clay Is Ready

Properly conditioned clay feels smooth, soft, and consistent throughout with no stiff patches or crumbly edges. When you bend a thin piece it should flex rather than crack. If it cracks or breaks cleanly it needs more conditioning polymer clay without pasta machine work before it is ready.
Another test is to roll a thin sheet and check the edges. Clay that has gone through proper conditioning polymer clay without pasta machine produces smooth, clean edges when rolled. Under-conditioned clay produces edges that look slightly rough or torn even before cutting.
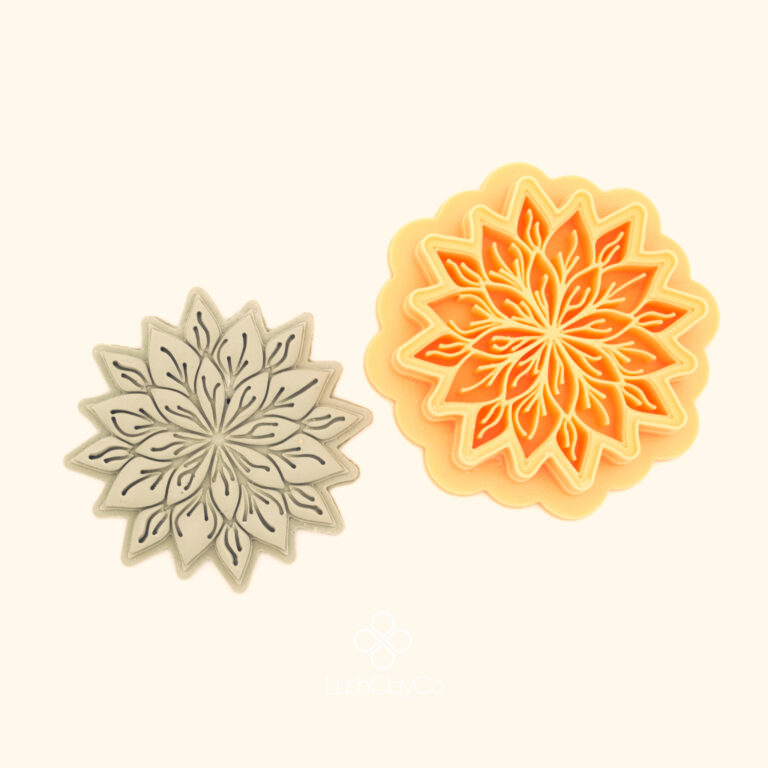
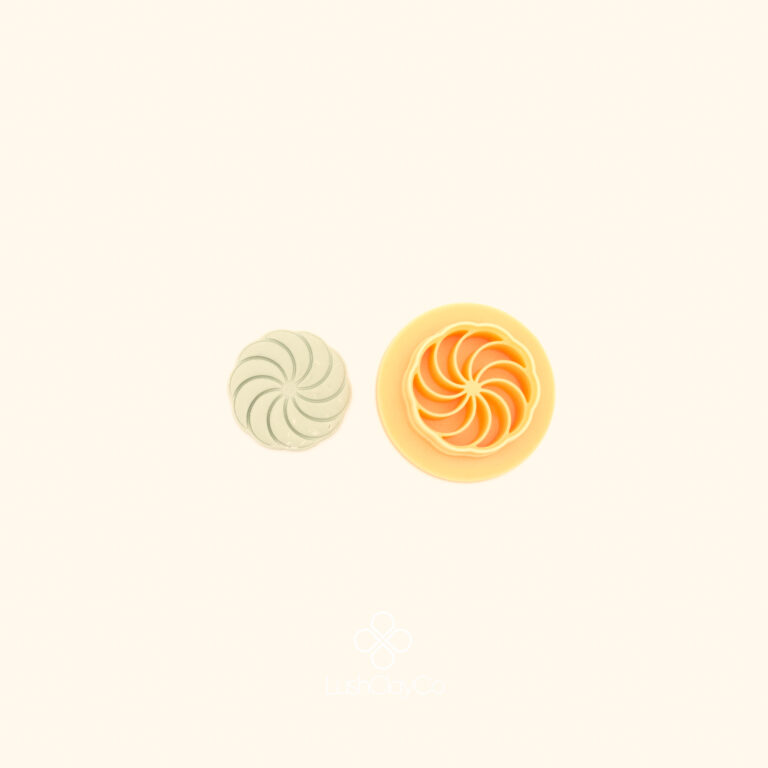
For cutting with polymer clay cutters, properly conditioned clay makes an immediate difference. As covered in our guide to sharp polymer clay cutters, even the best cutter cannot fully compensate for clay that has not been properly prepared. The Gul Daire is a good example of a design where conditioning quality shows clearly in the finished cut, the circular geometry makes any inconsistency in the clay surface immediately visible.
Conditioning Different Clay Brands Without Pasta Machine
Different brands respond differently to conditioning polymer clay without pasta machine and knowing what to expect saves a lot of frustration.
Premo is one of the more hand-friendly clays for conditioning polymer clay without pasta machine. It softens relatively quickly with body heat and responds well to hand kneading. It is a good starting point for beginners learning to condition without equipment.
Sculpey III softens quickly but can become too soft if over-worked in warm hands. Work it in shorter bursts and allow it to cool slightly if it starts feeling sticky.
Fimo Professional is significantly firmer than most other brands and requires more initial effort when conditioning polymer clay without pasta machine. It is worth warming it thoroughly before starting and working in smaller pieces than you would with softer clays. Fimo Soft conditions much more easily and is a better choice for beginners who want to start conditioning polymer clay without pasta machine.
Cernit conditions smoothly and responds well to hand warming. It has a slightly different feel to Sculpey and Fimo brands but conditioning polymer clay without pasta machine follows the same process.
Problem Clay and How to Fix It
Clay feels crumbly and falls apart. This is usually old or dry clay where the plasticizers have partially separated. Add a small amount of liquid clay or a drop of mineral oil and work it in gradually. Do not add too much at once. Work the clay in small pieces until it comes together, then combine the pieces and continue conditioning polymer clay without pasta machine until the texture is consistent.
Clay is too soft and sticky. Your hands are too warm or the studio is too hot. Place the clay on a tile or glass surface for a few minutes to cool it down. Avoid handling it more than necessary until it firms up. Conditioning polymer clay without pasta machine in shorter bursts with rest periods in between also helps.
Clay has a hard outer layer but soft centre. This happens with older clay that has been stored in varying temperatures. Condition small pieces at a time, working from the outside in, until the texture becomes consistent throughout.
Clay feels grainy or has small hard lumps. Usually a sign that the clay has partially cured from heat exposure, for example being left in a car or near a heat source. Small amounts can sometimes be worked out by conditioning thoroughly, but heavily affected clay may not be salvageable.
Conditioning Without Pasta Machine: Tips for Efficiency
Conditioning polymer clay without pasta machine takes longer than using equipment but there are ways to make the process faster and less tiring.
Work in a warm environment. Cold studios make clay firmer and harder to condition. If your hands get tired, take a break and let the clay rest somewhere warm before continuing.
Use a smooth acrylic roller once the clay is partially conditioned. Rolling and folding is less tiring on your hands than kneading alone and is effective at working out the last remaining stiffness.
Condition your clay at the start of each session before you do anything else. Having your clay ready to go before you reach for your cutters keeps your workflow smooth and prevents the frustration of trying to cut clay that is not quite ready.
How to Store Conditioned Clay
If you have conditioned more clay than you need for a session, storing it correctly means you will not have to start the conditioning polymer clay without pasta machine process from scratch next time.
Wrap conditioned clay tightly in plastic wrap immediately after your session. Press out any air pockets before sealing. Store wrapped clay in an airtight container away from heat and direct sunlight. A cool dark drawer or cupboard works well.
Avoid storing conditioned clay in direct contact with surfaces that contain plasticizers themselves, such as certain plastic containers, as these can cause the clay to become sticky over time. Glass containers or those labelled as clay-safe are the safest option.
Properly stored conditioned clay stays workable for weeks and only needs a brief warm-up in your hands before your next session rather than a full conditioning polymer clay without pasta machine process again. This saves significant time if you work regularly and keeps your workflow efficient between sessions.
After Conditioning
Once your clay is fully conditioned, roll it to your working thickness immediately rather than leaving it to sit. Conditioned clay that sits too long in a warm studio can become slightly too soft to cut cleanly.
For most jewelry pieces a thickness of 2 to 3mm works well. This is thin enough to keep pieces lightweight and wearable but thick enough to hold detail and cut cleanly. Browse the full LushClayCo cutter collection and see how well prepared clay transforms the quality of every cut.