If you are spending more time sanding your polymer clay pieces than actually making them, the problem is almost certainly your cutters. Sharp polymer clay cutters eliminate the majority of edge cleanup before it starts, and once you work with a genuinely sharp polymer clay cutters you will understand immediately why the difference matters.
This guide covers what makes a cutter sharp, why it affects your results so directly, and how to get clean edges consistently from the very first cut.
Table of Contents
Why Sharpness Starts with the Cutting Edge
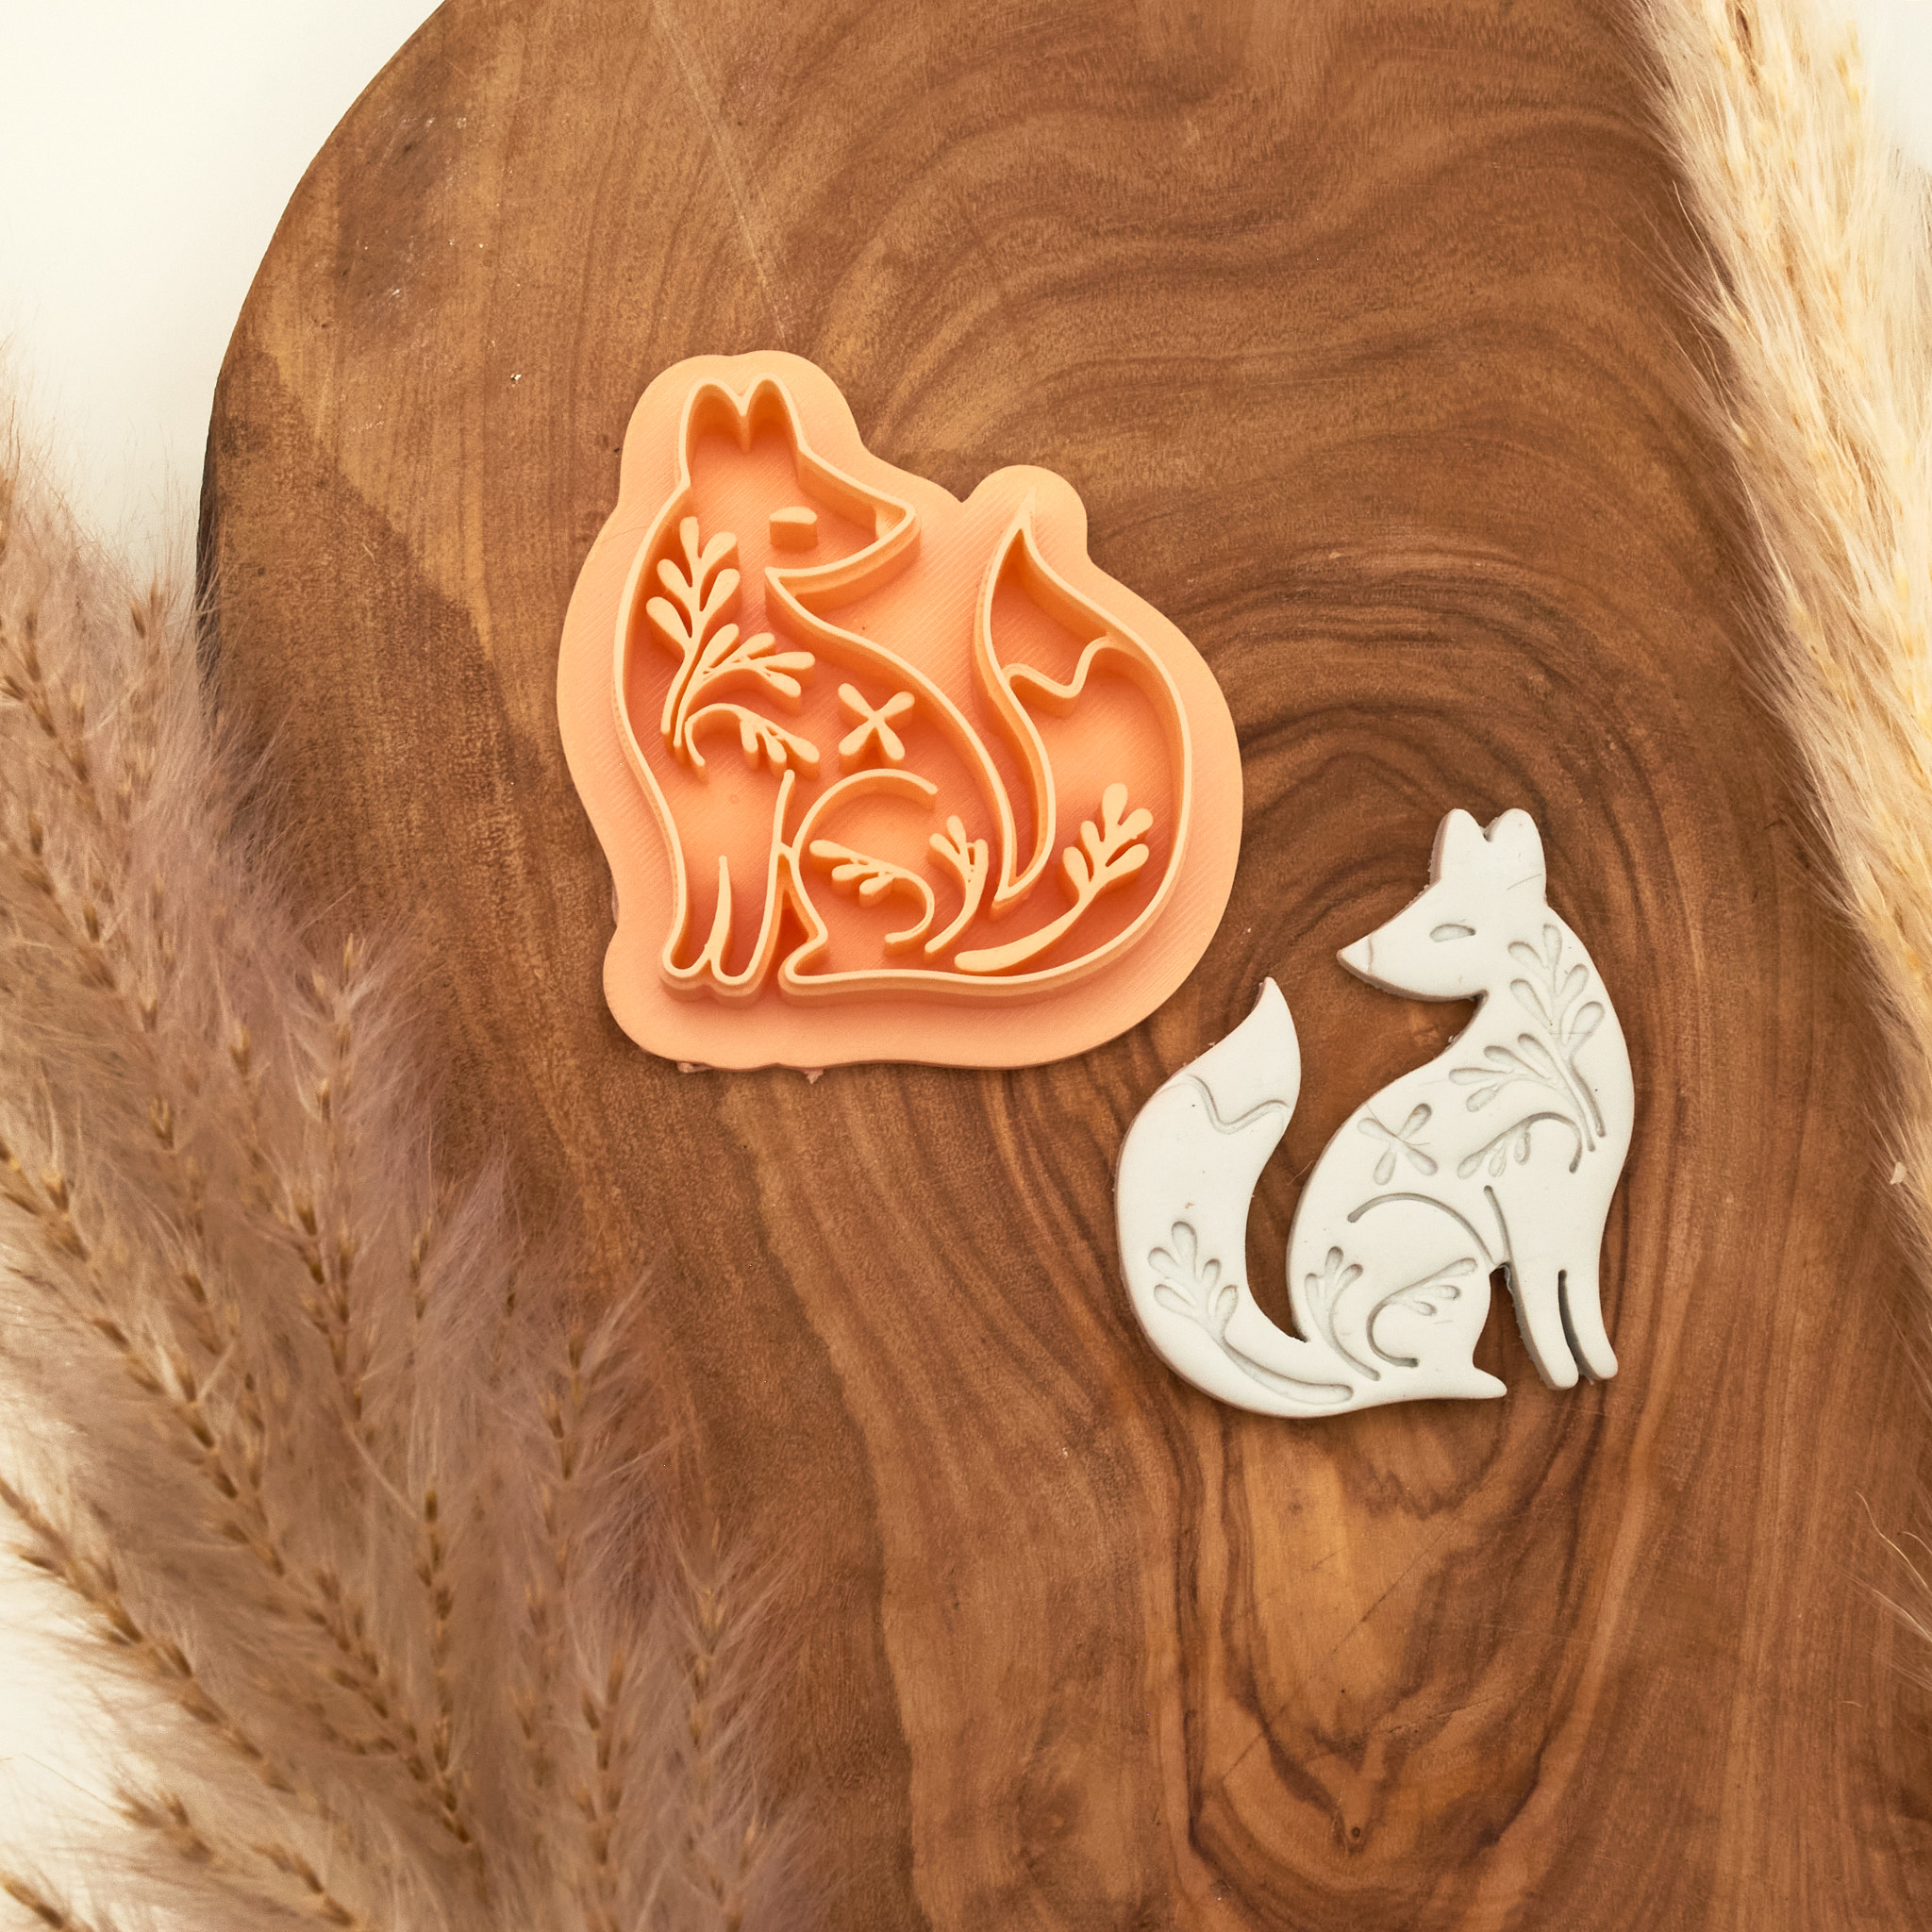
Most beginner frustration with polymer clay comes down to one thing: drag. When a cutter has thick walls or an uneven edge, it does not slice through the clay so much as push through it. The clay compresses and displaces rather than separating cleanly, and that displacement is what creates the ragged, furry edges that require sanding.
Sharp polymer clay cutters with a 0.35mm cutting edge work differently. The blade is thin enough to slice through the clay with minimal displacement, leaving the edge almost exactly as the design intended. Less displacement means less distortion, and less distortion means less cleanup. For beginners especially, this removes one of the most discouraging parts of the process and lets you focus on making rather than fixing.
Cutter Wall Thickness Is Everything
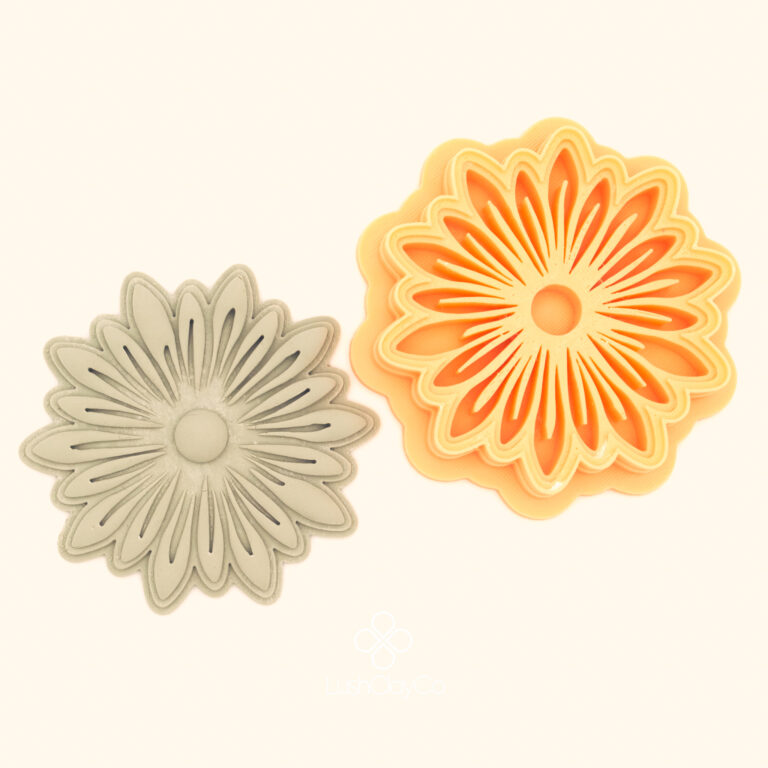
The wall thickness of a cutter determines how much clay it moves as it cuts. Thick walls push outward. Thin walls slice inward. The practical difference is visible immediately in the edge quality of the finished piece, and it becomes even more obvious on detailed or intricate shapes where the clay has less room to recover.
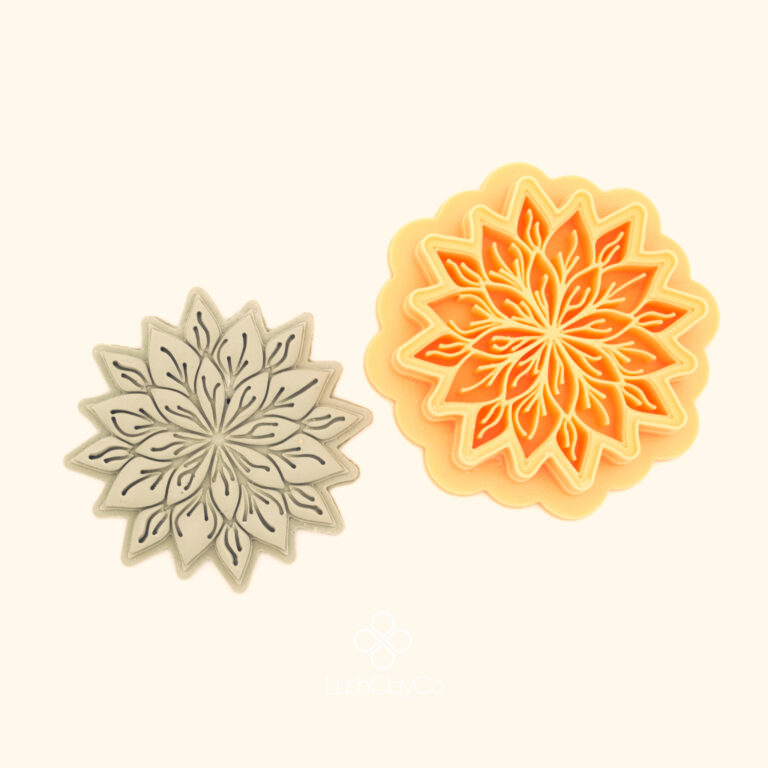
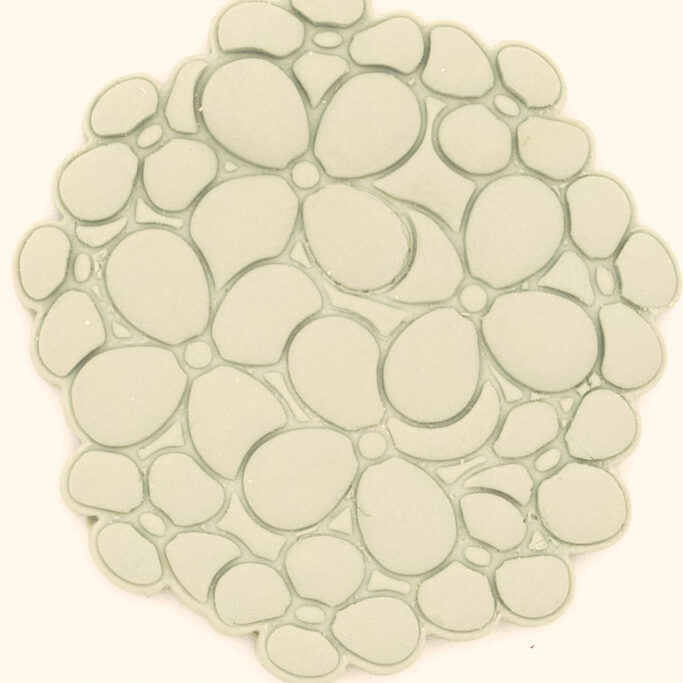
LushClayCo cutters are printed at 0.35mm wall thickness, tested specifically on polymer clay rather than designed generically. The Bahar Cluster is a good example of how a detailed, multi-element design performs at that thickness. Complex shapes with tight curves and small internal spaces are where edge quality really shows, and where a poorly made cutter fails most visibly. If your current cutters are giving you clean edges on simple circles but struggling on anything more detailed, wall thickness is almost always the reason.
The Difference Between a Sharp and a Dull Cutter in Practice
It helps to understand what actually happens during a cut. When you press a cutter into a clay slab, the cutting edge needs to separate the clay cleanly along its entire perimeter at the same moment. Sharp polymer clay cutters with a consistent, thin edge does this in one clean motion. A dull or thick-walled cutter compresses the clay first and then tears through it, which is why the edges look rough rather than clean.
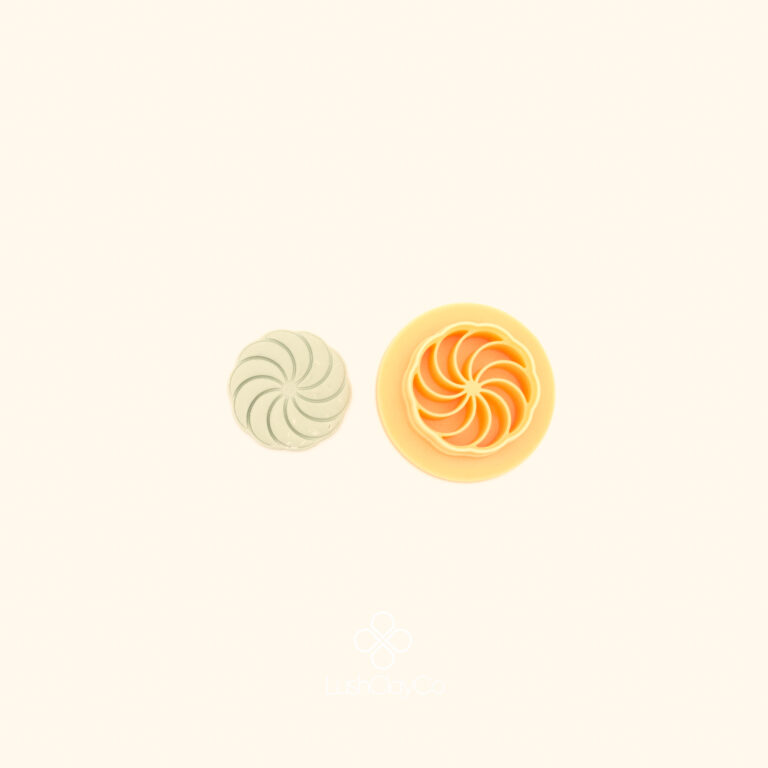
This matters more for some shapes than others. A simple circle or square is forgiving because the edges are long and straight. A botanical shape, a cluster design, or anything with narrow points or tight internal corners is much less forgiving. The clay has to separate cleanly around every curve and point simultaneously, and only a genuinely sharp cutter achieves that reliably.
This is also why technique alone cannot fully compensate for a poor cutter. Pressing straighter, using cornstarch, chilling your clay before cutting, all of these help. But if the cutting edge itself is not sharp and consistent, you are managing the problem rather than solving it.
Clay Consistency Still Matters
Even the most sharp polymer clay cutters need properly conditioned clay to perform at their best. Clay that is too soft stretches as the cutter lifts, dragging the edge out of shape. Clay that is too firm resists the cut and can crack along the edge.
Both Sculpey and Premo condition well and are consistent enough in texture that you get predictable results with every cut. Condition until the clay is smooth and pliable but not sticky, then cut immediately rather than leaving it to warm up further on your work surface.
If your studio is warm and the clay feels too soft, refrigerate the slab for five to ten minutes before cutting. Cool clay holds its shape better as the cutter lifts and is less likely to stretch at the edges. This is especially useful in summer or in warm studio environments where clay softens quickly after conditioning.
Surface and Technique
Work on an unglazed ceramic tile or glass. These surfaces are non-porous, keep the underside of your slab flat, and prevent the clay from picking up texture from the work surface. Press your sharp polymer clay cutters straight down with even pressure and lift straight up in a single motion. Rocking or twisting as you lift is responsible for most of the edge distortion that gets blamed on the clay or the cutter.
Dust lightly with cornstarch before each cut if clay is sticking inside the cutter. A dry brush sweeps the excess away without leaving residue on the clay surface. For very intricate designs, dipping your sharp polymer clay cutters in cornstarch before each impression rather than dusting the slab gives more even coverage around tight internal edges.
One technique worth trying for a softer, more rounded top edge is to lay a sheet of plastic wrap over your slab before pressing the cutter down. The wrap creates a gentle dome across the top surface of each cut piece, which gives a more refined, finished look without any extra work. It is a small step that makes a noticeable difference on display pieces and earrings.
Keeping Sharp Polymer Clay Cutters
Sharp polymer clay cutters stay sharp longer than most makers expect, but only with basic care. Clay buildup along the cutting edge is the most common reason a good cutter starts performing like a bad one.
After each session, wipe the cutting edge clean with a baby wipe or damp cloth. For clay trapped inside narrow sections, a soft brush or toothpick works well. Avoid soaking your sharp polymer clay cutters or leaving them in direct sunlight, both of which degrade the material over time.
Store them flat so the cutting edge does not catch on anything. A simple flat storage case or a dedicated drawer keeps them in good condition between sessions and means they are ready to perform at full sharpness every time you sit down to work. Treat your cutters well and they will last through hundreds of sessions without any noticeable change in performance.
When You Still Need to Sand
With sharp polymer clay cutters and properly conditioned clay, sanding becomes the exception rather than the routine. The situations where you will still reach for sandpaper are deliberate finishing choices, like building up a gloss on a smooth surface or refining a piece for a specific texture effect, rather than fixing cutting damage.
If you are sanding every single piece as a matter of course, that is the sharp polymer clay cutters telling you something. It is worth upgrading before developing habits around compensating for poor tools. Those habits slow down your workflow and add steps to a process that should feel straightforward, especially once you are making pieces in volume for markets, orders, or a shop.
Building a Collection That Works Together
One of the advantages of sharp polymer clay cutters with consistent edge geometry is that they work predictably together. When every cutter in your collection cuts at the same depth and releases with the same clean edge, you can layer shapes, create matching sets, and build cohesive collections without constantly adjusting your technique between different tools.
This consistency matters more as your practice develops. Early on you are focused on getting any piece to look good. As you build confidence you start thinking about collections, matching earrings, coordinated designs, and scale. Having a set of sharp polymer clay cutters that all perform to the same standard makes that kind of cohesive making much easier to achieve.
Browse the new arrivals to see the latest additions to the LushClayCo range, each designed and tested in clay before release so the edge geometry is validated for real studio use.