If you have been trying to get that lush, dimensional look in your polymer clay jewelry and it keeps falling flat, the answer is almost always in the layering. Floral polymer clay cutters make the process straightforward once you understand a few key principles. This guide covers everything a beginner needs to get consistent, professional-looking layered florals from the first attempt.
Table of Contents
Why Layering Makes the Difference
A single flat flower cut from clay looks handmade. A layered floral looks designed. The depth created by stacking petals adds movement and dimension that catches light differently at every angle, which is exactly what makes a piece stand out in a display or photograph.
The good news is that layering is not complicated. It is a technique, and like any technique it becomes intuitive quickly once you know the logic behind it.
Choosing the Right Floral Polymer Clay Cutters
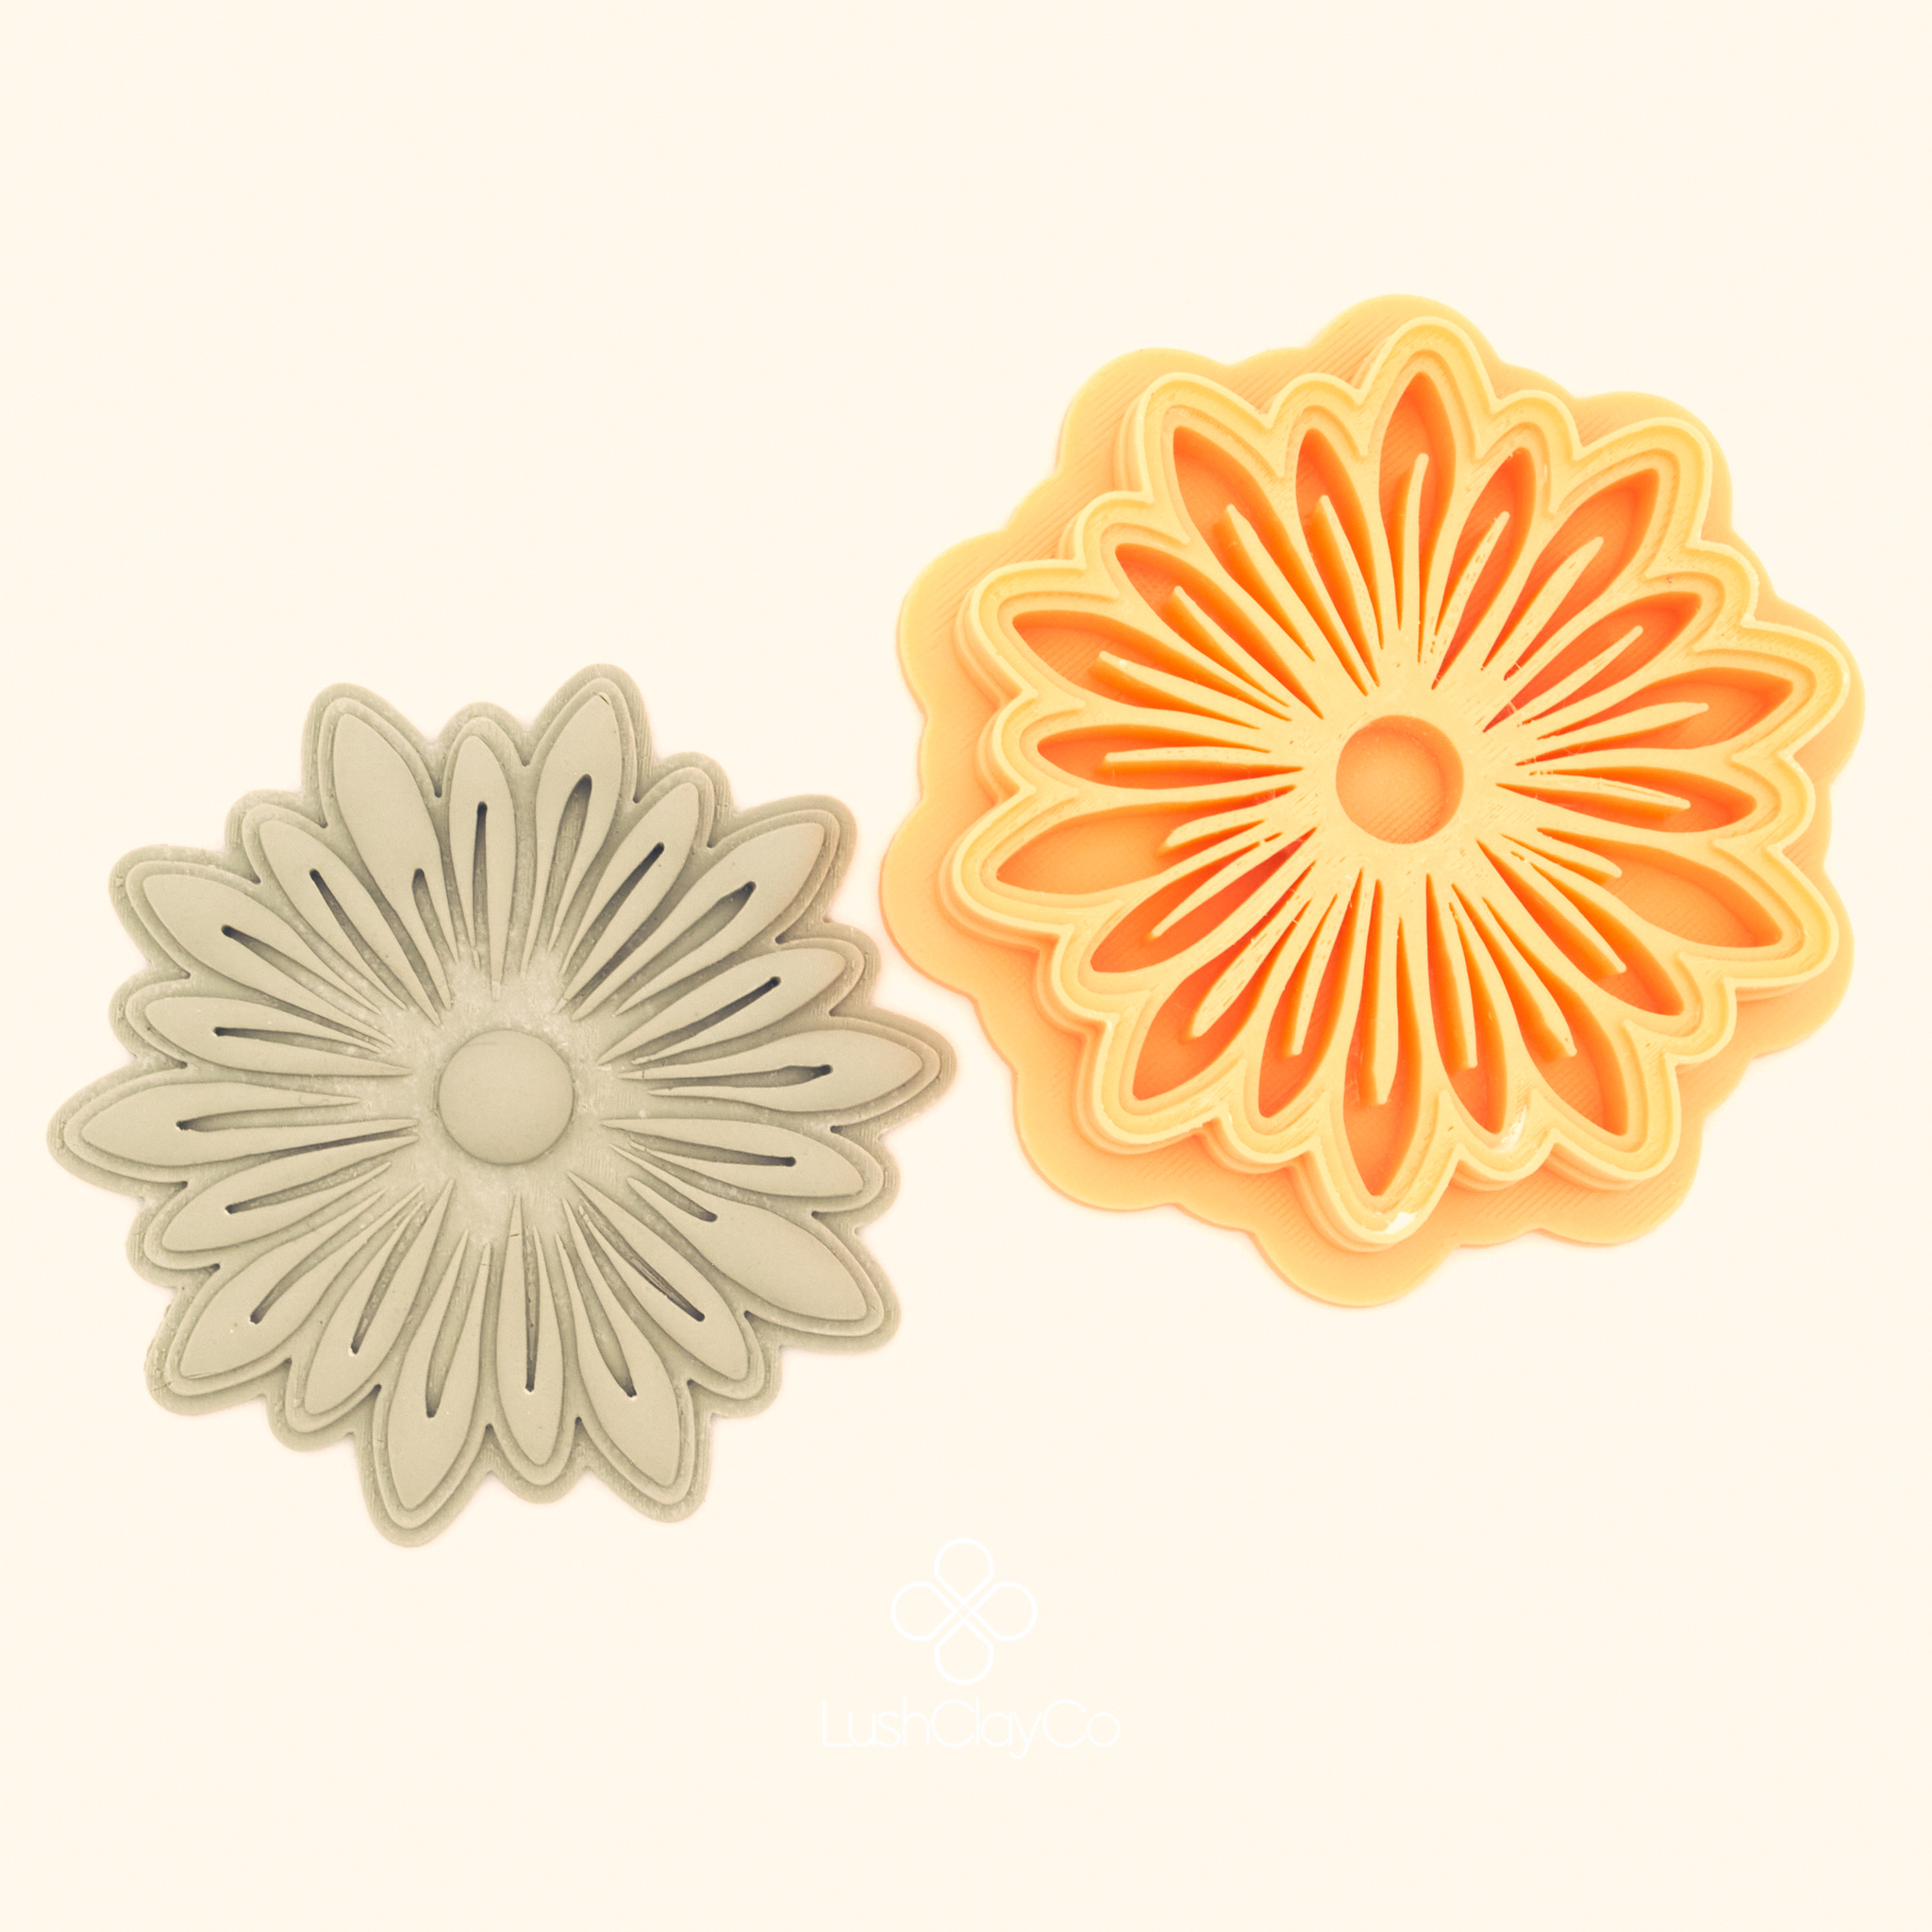
Not all floral polymer clay cutters are designed with layering in mind. For stacking to work cleanly you need cutters with a consistent 0.4mm cutting edge that releases the clay without tearing or dragging. Thick-walled cutters compress the clay at the edges as they cut, which makes petal shapes slightly smaller and distorted, and distorted petals do not stack cleanly.
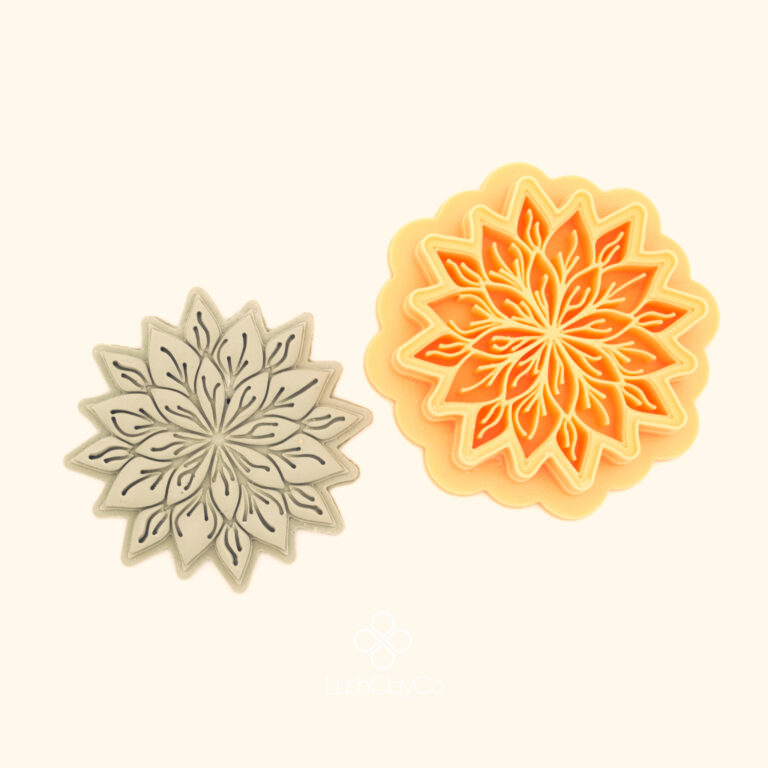
You also want a range of sizes. Layering works by building from smallest at the top to largest at the base, so having the same shape in two or three sizes gives you the most control. Browse the new arrivals if you are looking for fresh floral shapes to work with, or check the full shop for the complete range.
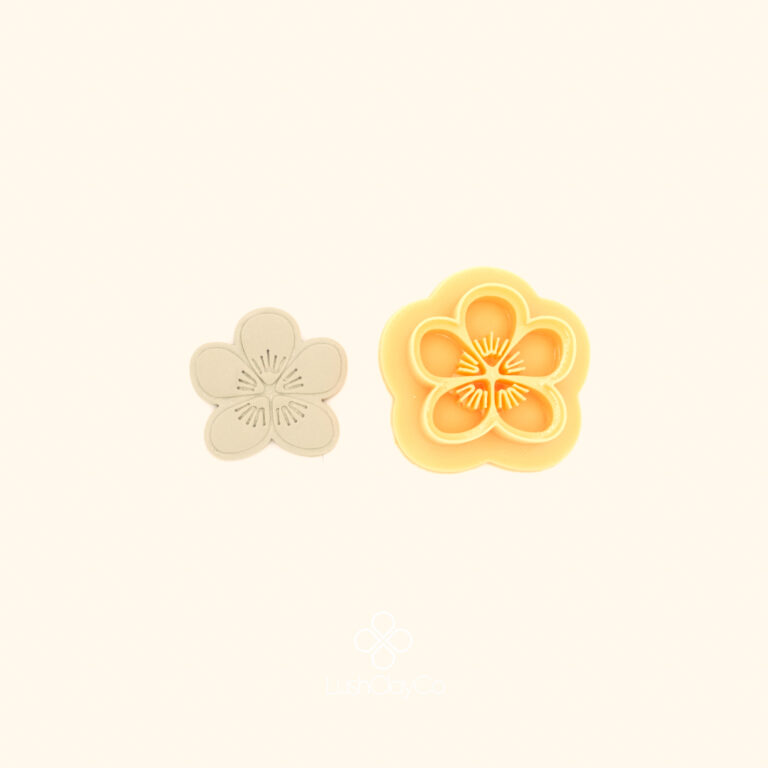
A good example of a cutter designed for this kind of detail work is the Buz Kraliçe, where the structured petal geometry makes stacking both precise and forgiving for beginners.
Preparing Your Clay for Clean Layers
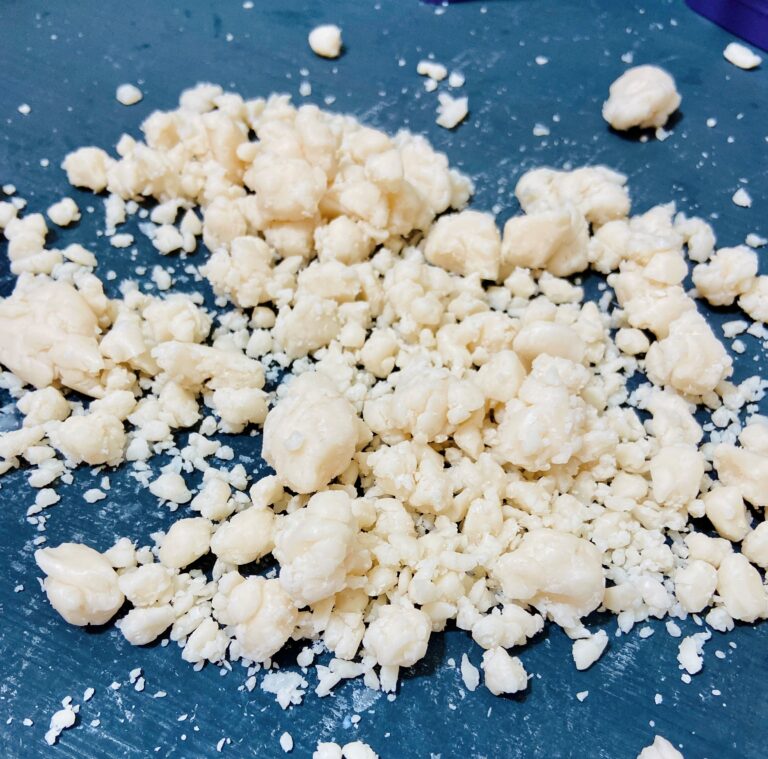
Before you cut anything, condition your clay thoroughly. Under-conditioned clay tears at the edges when cut, which ruins the clean lines you need for layering. Roll it through a pasta machine or work it by hand until it is smooth, soft, and consistent throughout.
Roll your slab on glass or an unglazed tile at a consistent thickness. For layered florals, 2mm works well for base layers and 1 to 1.5mm for upper petals. Thinner upper layers sit more naturally on top and give a more realistic floral appearance. For a more detailed breakdown of clay thickness and conditioning, the Sculpey beginner guide is a reliable reference.
Dust lightly with cornstarch before each cut to prevent sticking, and press your floral polymer clay cutters straight down and straight up without twisting.
How to Layer Step by Step
Start with your largest cutter and work down to the smallest. Cut all your pieces first before you start assembling, so you are not rushing between cuts and assembly.
Place your largest petal layer flat on your work surface. Add a tiny amount of liquid clay or just gentle finger pressure to the centre before placing the next layer. Offset each layer slightly so the petals between layers alternate rather than stack directly on top of each other. This is what creates the natural, organic look rather than a stiff geometric one.
For the top layer, gently cup the petals upward with a ball stylus tool or the tip of your finger before placing it. Even a subtle curve on the uppermost layer adds significant depth to the finished piece.
Once assembled, press very lightly in the centre to bond the layers together, then bake flat on a tile or glass surface.
Common Mistakes to Avoid
Using clay that is too thick on upper layers is the most common issue. Upper petals that are too thick make the finished piece heavy and the layers look clunky rather than delicate.
Stacking petals directly on top of each other rather than offsetting them is the second most common mistake. Offset petals by rotating each layer 20 to 45 degrees before placing it down.
Finally, skipping the pre-bake check. Assemble your layers on a piece of scrap clay first to test the sizing and arrangement before committing to your good clay.
Colour and Texture Tips
Subtle colour gradients across layers add a lot of visual interest without extra work. A slightly lighter or darker shade on the upper petals draws the eye inward toward the centre, mimicking how real flowers look.
Adding a small texture to your base layer before assembling also helps. Light dots or vein lines on the bottom layer are partially hidden by upper petals but create a subtle shadow effect that makes the whole piece look more dimensional.