Polymer clay earrings for beginners are one of the most accessible entry points into handmade jewelry. The materials are affordable, the learning curve is manageable, and the results look genuinely professional from early on. If you have been curious about making your own earrings but are not sure where to start, this guide covers everything you need to know from tools and materials through to your first finished pair.
Table of Contents
Why Polymer Clay Earrings Are Perfect for Beginners
Polymer clay earrings for beginners work so well because the material is forgiving, endlessly customisable, and requires very little specialist equipment to get started. Unlike metal or resin jewelry, polymer clay does not require expensive tools, toxic chemicals, or specialist studio space. You can work at a kitchen table, bake in a home oven, and produce pieces that look boutique-ready from your very first session.
The other reason polymer clay earrings for beginners are such a good starting point is the creative range. From simple geometric shapes to intricate florals and heritage-inspired designs, you can make pieces that reflect your personal aesthetic from day one. As your skills develop, the techniques you can explore expand significantly, but even basic cutting and baking produces beautiful results.
What You Need to Get Started
Before your first session of making polymer clay earrings for beginners, gather these essentials:
A block or two of polymer clay in your chosen colours. Premo and Fimo are both reliable choices for beginners. Both condition well by hand and produce strong, flexible results after baking.
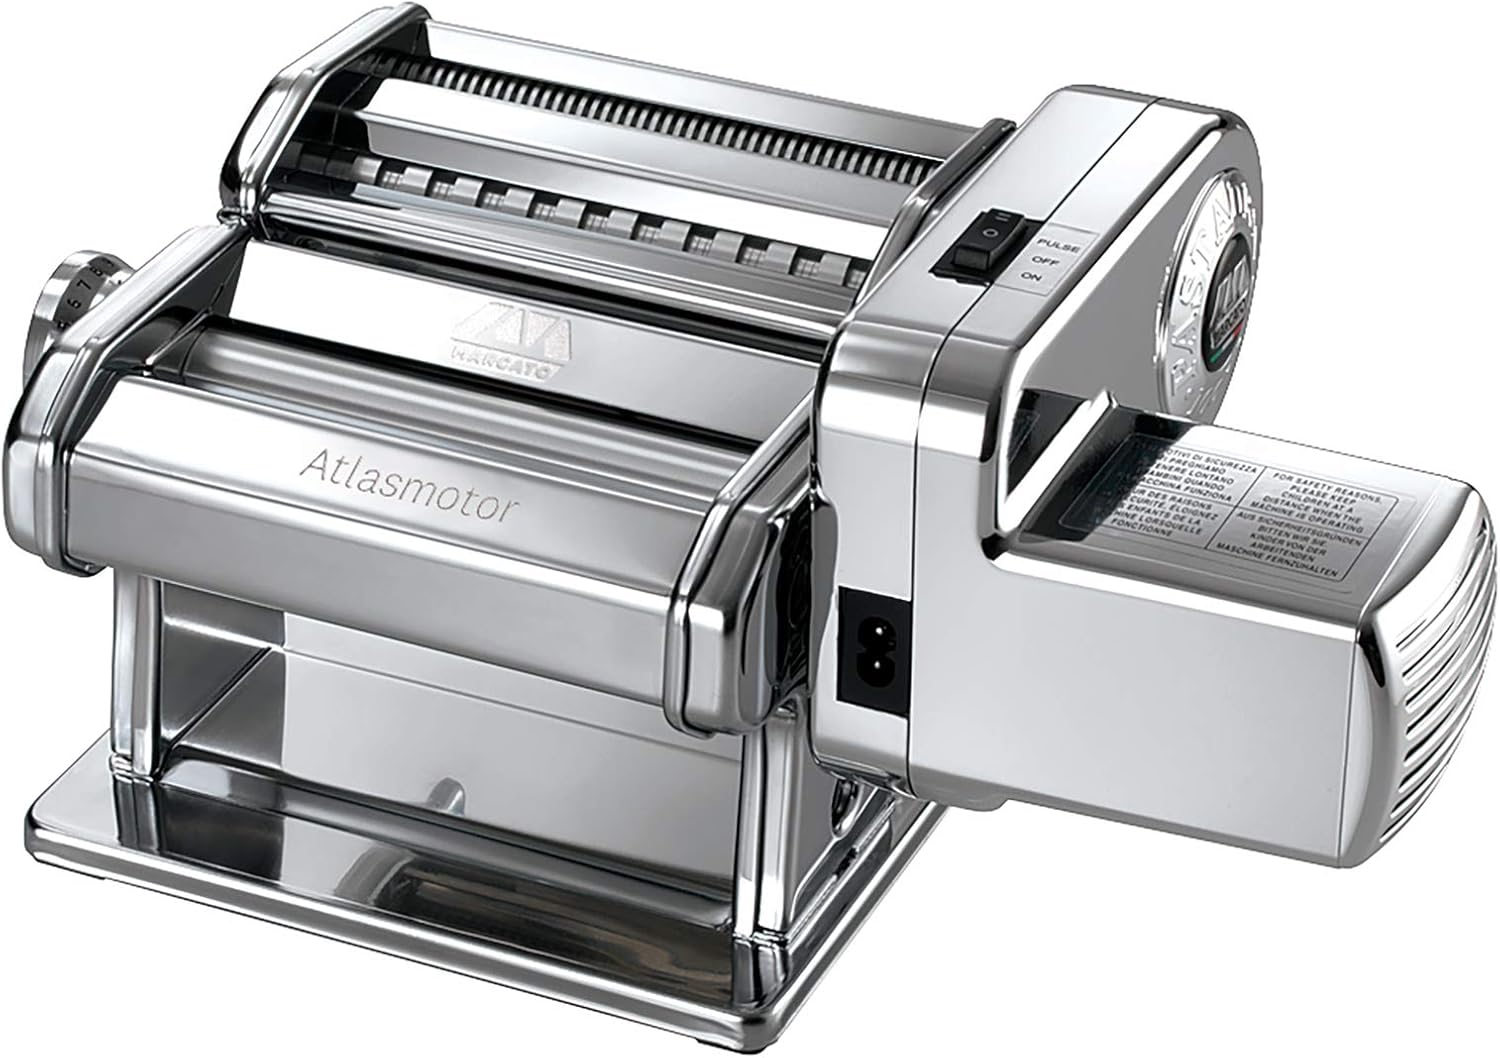
An acrylic roller to roll your clay to a consistent thickness. For earrings, 2 to 3mm is the standard working thickness.
A smooth non-porous surface to work on. An unglazed ceramic tile or a piece of glass works perfectly and doubles as your baking surface.
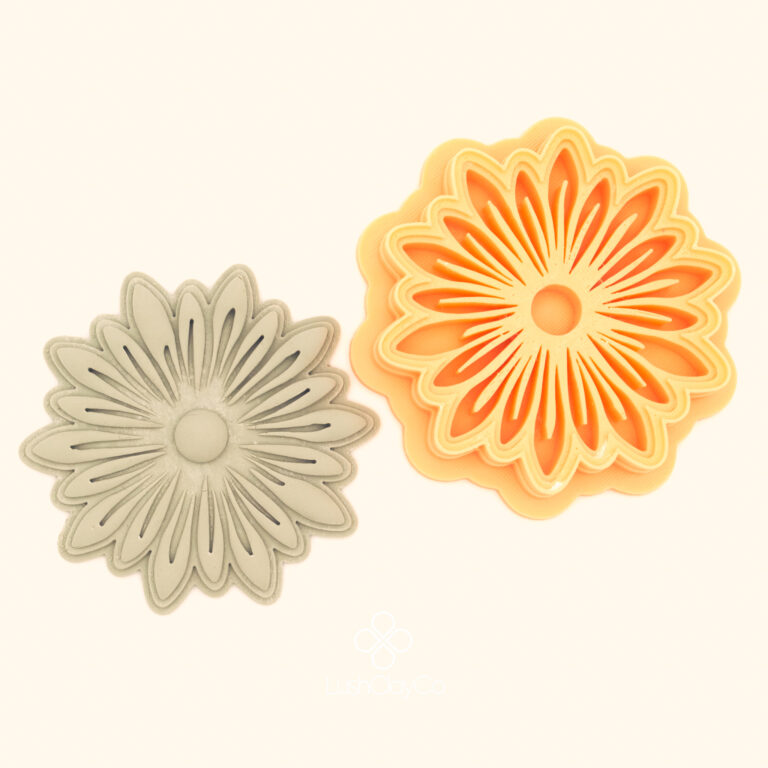
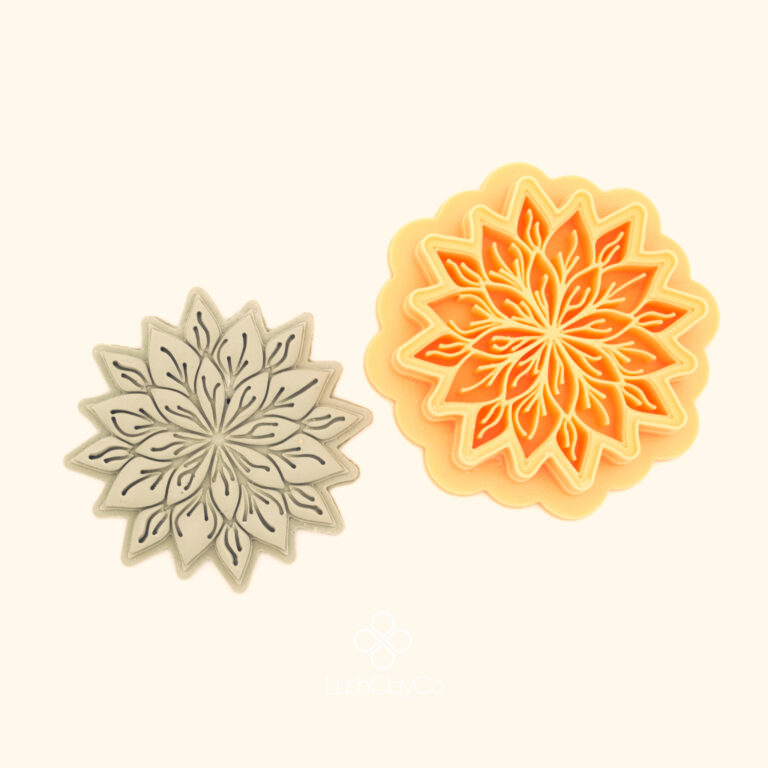
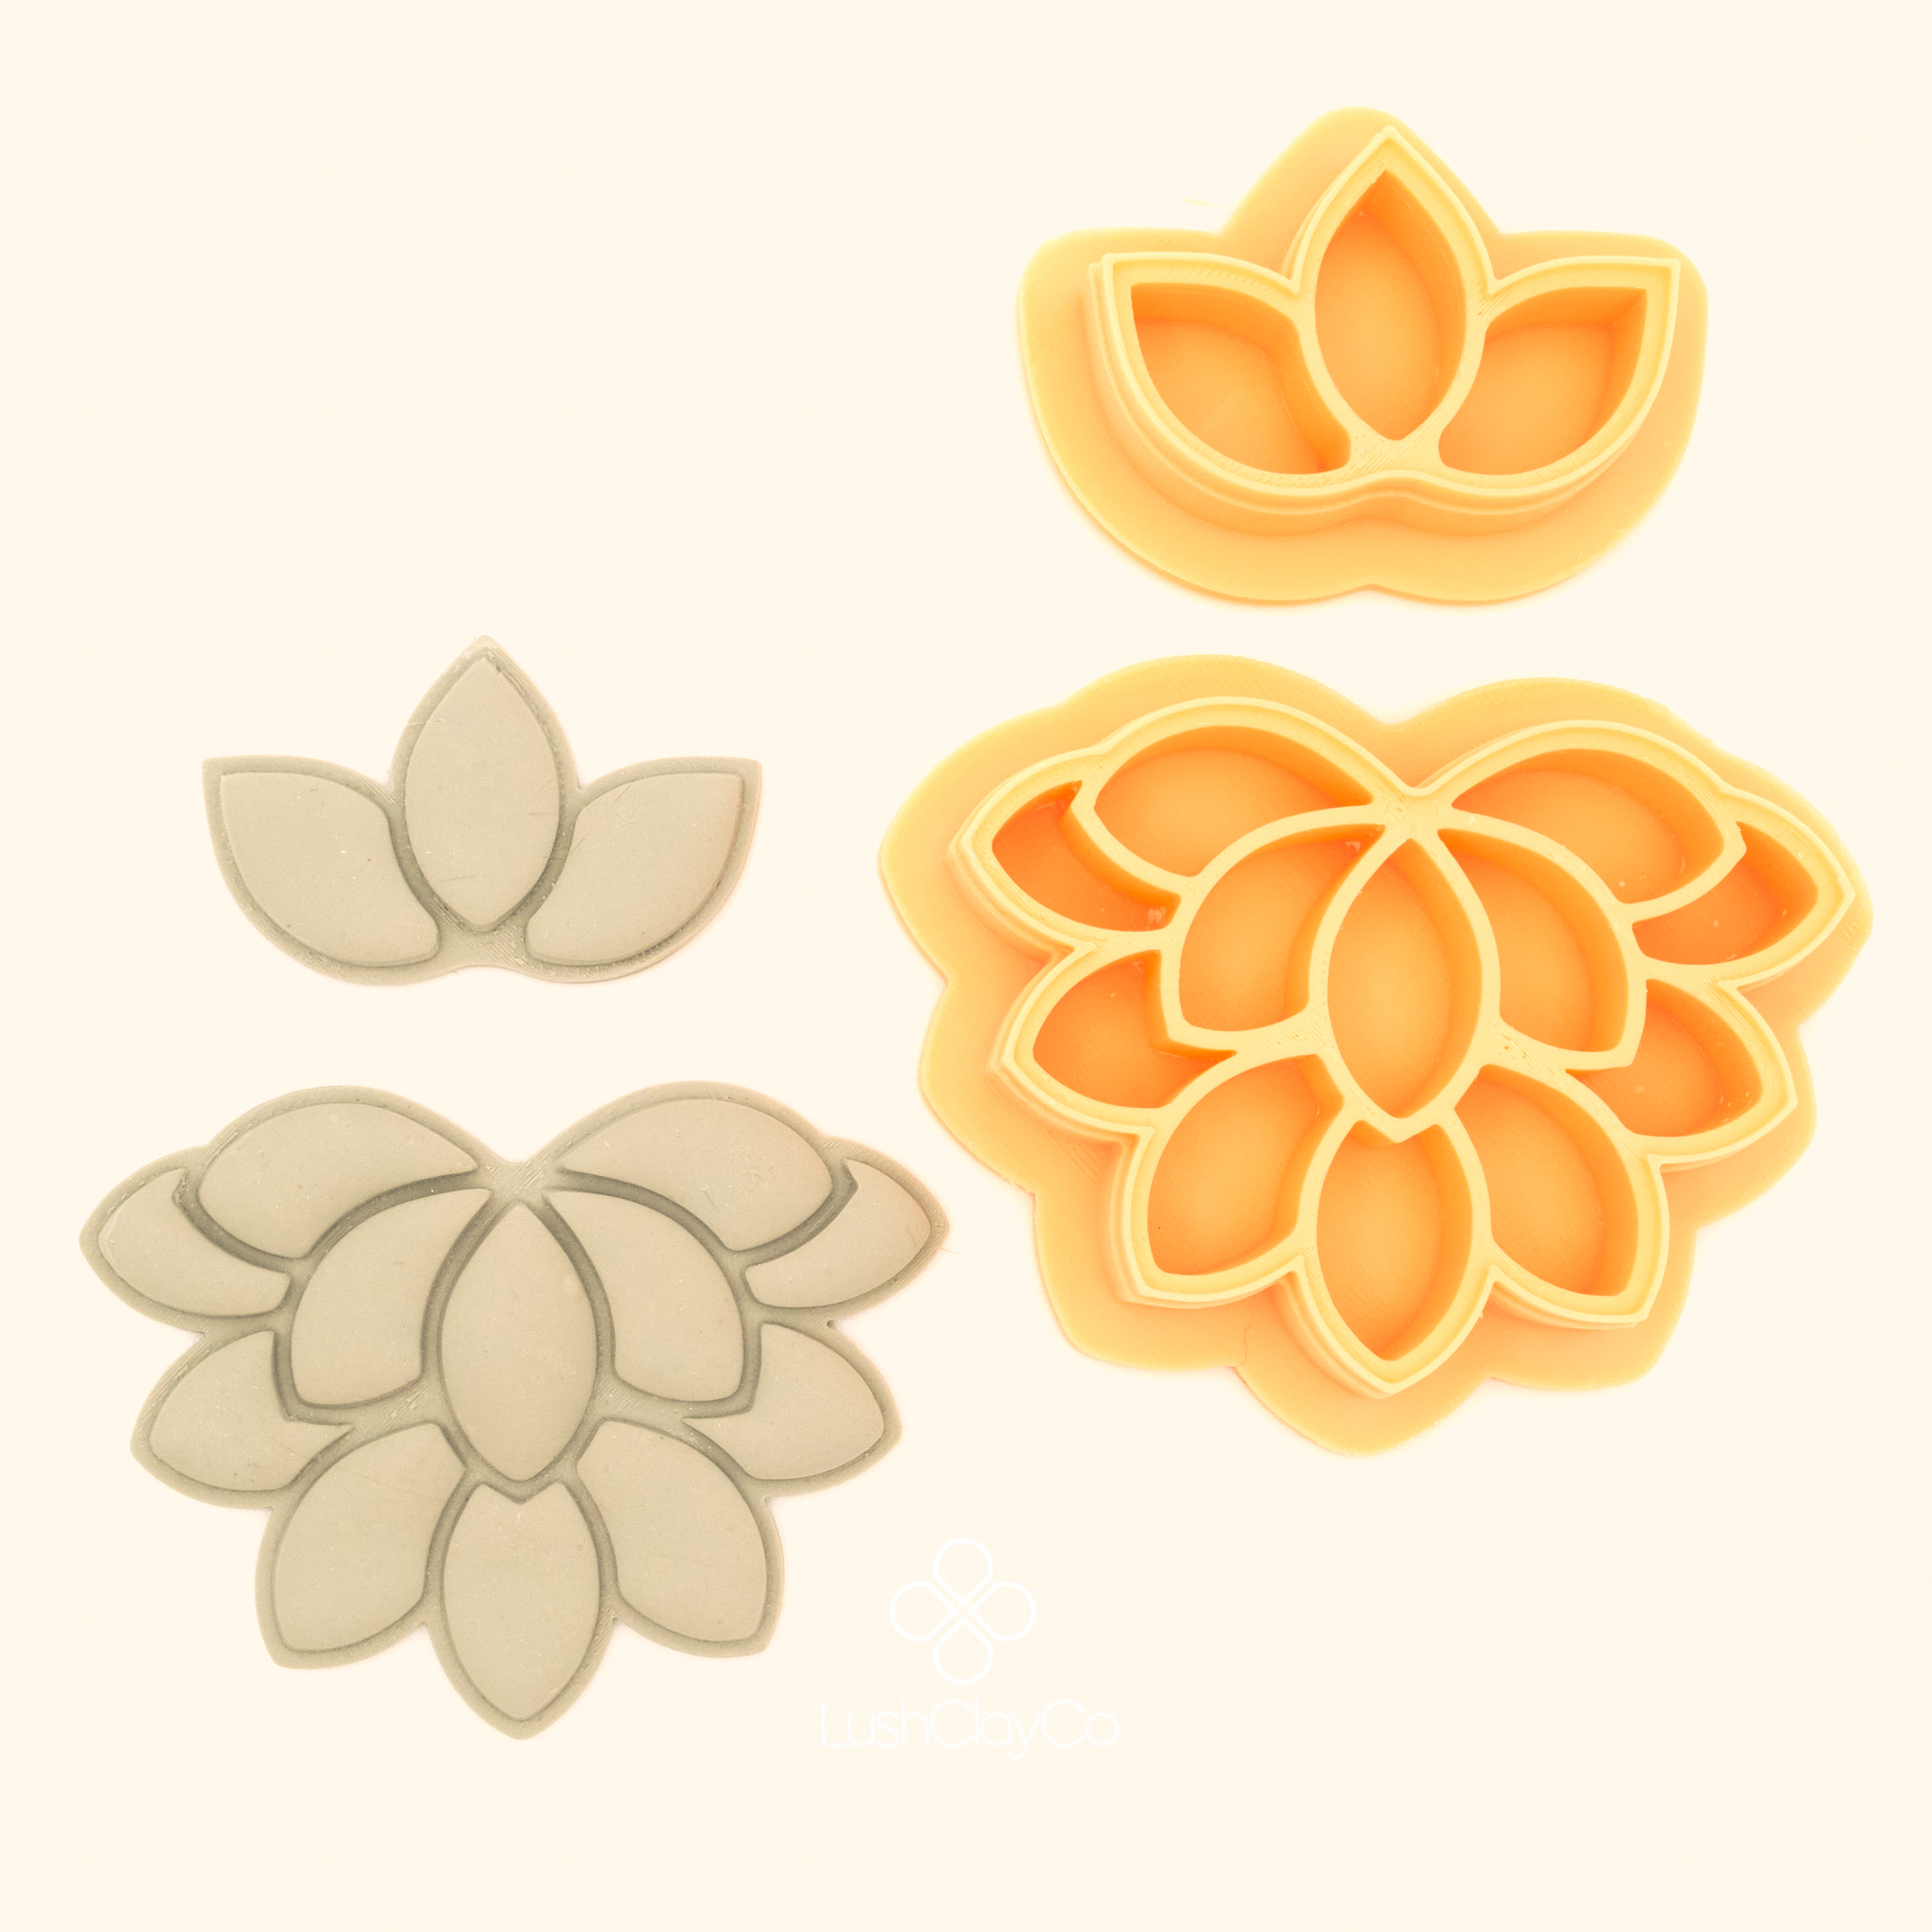
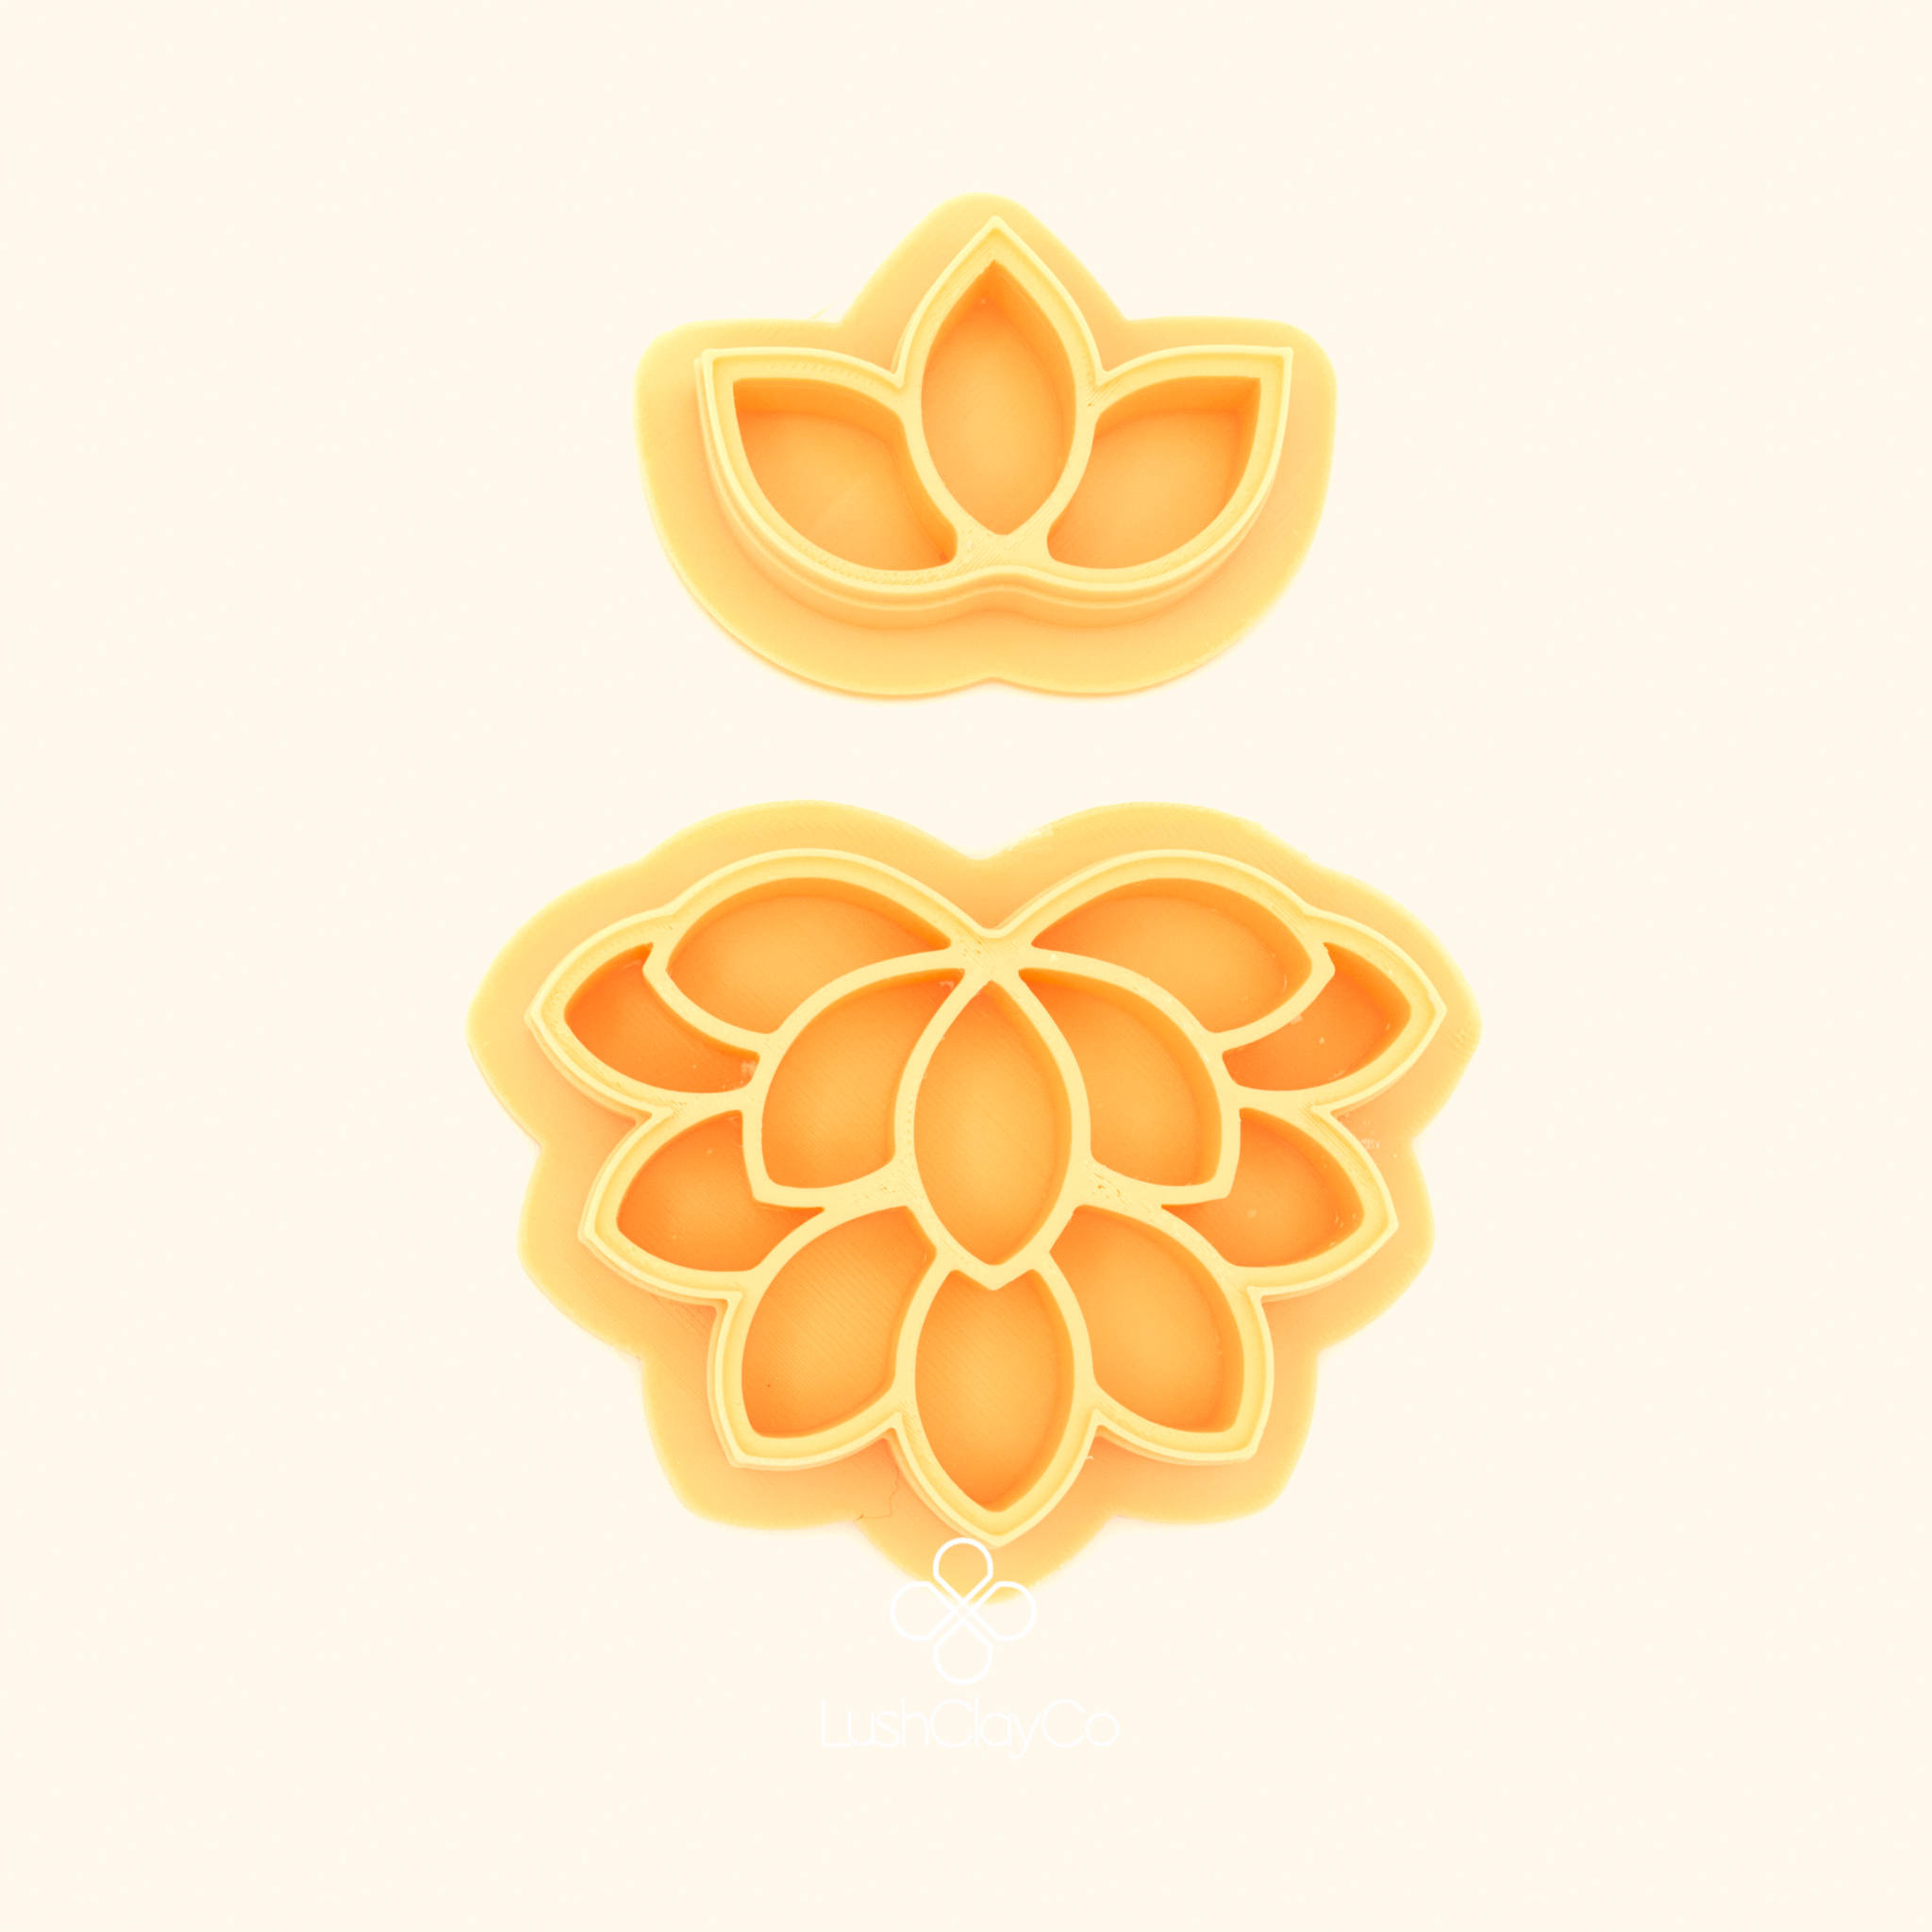
Polymer clay cutters to cut your shapes. This is where your designs come to life. Sharp, well-designed cutters produce clean edges that require no sanding, which saves significant time and frustration as a beginner. The Nilufer Deste is a great starting point, its structured design cuts cleanly and produces finished earring shapes that look polished straight from the cutter.
Earring findings, jump rings, and pliers to assemble your finished pieces. These are available from most craft suppliers and online.
A standalone oven thermometer. Most home ovens run hotter or cooler than the dial indicates, and accurate temperature is critical for a proper cure.
Choosing Your First Clay
For polymer clay earrings for beginners, Sculpey Premo is one of the most recommended starting clays. It conditions easily by hand, holds detail well during cutting, and produces strong, flexible results after baking that resist snapping during wear and assembly. Sculpey Souffle is another excellent option for earrings specifically because it is lightweight, which makes finished pieces more comfortable to wear.
Avoid Sculpey III as your primary clay for earrings. It is soft and easy to work with but becomes brittle after baking and is more likely to snap during assembly or wear.
Your First Cutting Session
Condition your clay thoroughly before cutting. Unconditioned clay tears at the edges and produces rough cuts that need sanding. Work each piece until it feels smooth, consistent, and pliable throughout. Roll it to 2 to 3mm thickness on your tile.
Press your polymer clay cutters straight down with even pressure and lift straight up in one clean motion. Avoid rocking or twisting as you lift, this is the most common cause of torn or ragged edges for beginners making polymer clay earrings for beginners.
Dust your cutters lightly with cornstarch if clay is sticking inside. A dry brush removes the excess without leaving residue on the surface.
Once cut, wipe each piece gently with a cotton swab dipped in 100% acetone before baking. This dissolves fingerprints and surface marks and gives you a cleaner result without sanding after the oven.
Baking Your Earrings
Preheat your oven fully and verify the temperature with your standalone thermometer before putting any clay in. Most beginner-friendly clays like Premo and Sculpey Souffle bake at 275F or 130C.
Place your pieces on an unglazed tile and bake for a minimum of 30 minutes. Most experienced makers bake earring pieces for a full hour regardless of thickness because longer baking produces stronger results.
Allow pieces to cool completely on the tile before handling. Polymer clay is at its most fragile while still warm and can warp or dent if moved too early.
Assembling Your Earrings
Once fully cooled, attach your earring findings using jump rings and pliers. For most simple cutter shapes, a single jump ring through a pre-made hole in the clay connects directly to an earring hook.
If your pieces do not have pre-cut holes, a 1mm drill bit used carefully after baking works well. Position holes at least 3mm from the edge of the clay to avoid cracking.
A light coat of polymer clay varnish after assembly protects the surface and adds a finished look. Apply in thin coats and allow each coat to dry fully before adding the next.
Common Beginner Mistakes to Avoid
Not conditioning the clay fully before cutting. This is the single biggest cause of rough edges and torn shapes. Take the time to condition properly and your polymer clay earrings for beginners will look noticeably more professional.
Using too much pressure when cutting. Let the cutter do the work. Even, moderate pressure straight down is all you need with a sharp, well-designed cutter.
Skipping the oven thermometer. Baking at the wrong temperature produces brittle pieces that snap during assembly. A thermometer costs very little and removes all the guesswork.
Moving pieces before they have cooled. Always let your earrings cool completely on the tile before touching them.
Yes I was aiming for 1500 but fell short. Here are two sections to add before the “Building Your Collection” section:
Finishing Options for Polymer Clay Earrings
One of the questions beginners ask most often about polymer clay earrings for beginners is whether they need to seal or varnish their pieces. The short answer is that polymer clay does not strictly need sealing after baking since it is already a durable, water-resistant material. However, adding a finish does give your polymer clay earrings for beginners a more polished, professional appearance and adds an extra layer of protection against surface marks.
For a glossy finish, UV resin gives the most durable and glass-like result. Apply a thin, even layer and cure under a UV lamp for the time specified by your resin brand. For a softer finish, a dedicated polymer clay varnish applied in two thin coats works well and is more forgiving for beginners. Always apply varnish in thin coats rather than one thick coat to avoid bubbling or uneven coverage.
If you prefer a natural matte look, buff the surface of your cooled pieces with a scrap of dry denim before assembling. This brings up a subtle sheen without adding any product and works particularly well on solid colour pieces.
Troubleshooting Your First Polymer Clay Earrings
Even with the right tools and technique, making polymer clay earrings for beginners involves some trial and error. Here are the most common issues and how to fix them.
Pieces snap during assembly. This is almost always under-baking. Return pieces to the oven at the correct temperature for a further 20 to 30 minutes and allow to cool completely before testing again.
Edges look rough or torn after cutting. Either the clay was not fully conditioned or the cutter has thick walls that are displacing clay rather than slicing through it. Condition more thoroughly and consider upgrading to a cutter with a thinner cutting edge.
Clay sticks inside the cutter and distorts the shape when lifting. Dust the cutter with cornstarch before each impression and press straight down and straight up without twisting. If sticking persists, chill the clay slab briefly in the refrigerator before cutting.
Finished pieces have fingerprints or surface marks after baking. Wipe each piece with a cotton swab dipped in 100% acetone before baking. This step takes seconds and makes a significant difference to the surface quality of your polymer clay earrings for beginners.
Pieces have warped or curved after baking. The oven rack was not level or pieces were moved before fully cooled. Check your rack with a spirit level and always allow pieces to cool completely on the tile before handling.
Building Your Collection
Once you are comfortable with the basics of polymer clay earrings for beginners, the next step is building a cohesive collection. This means choosing a consistent colour palette, a design aesthetic, and a size range that works together as a set.
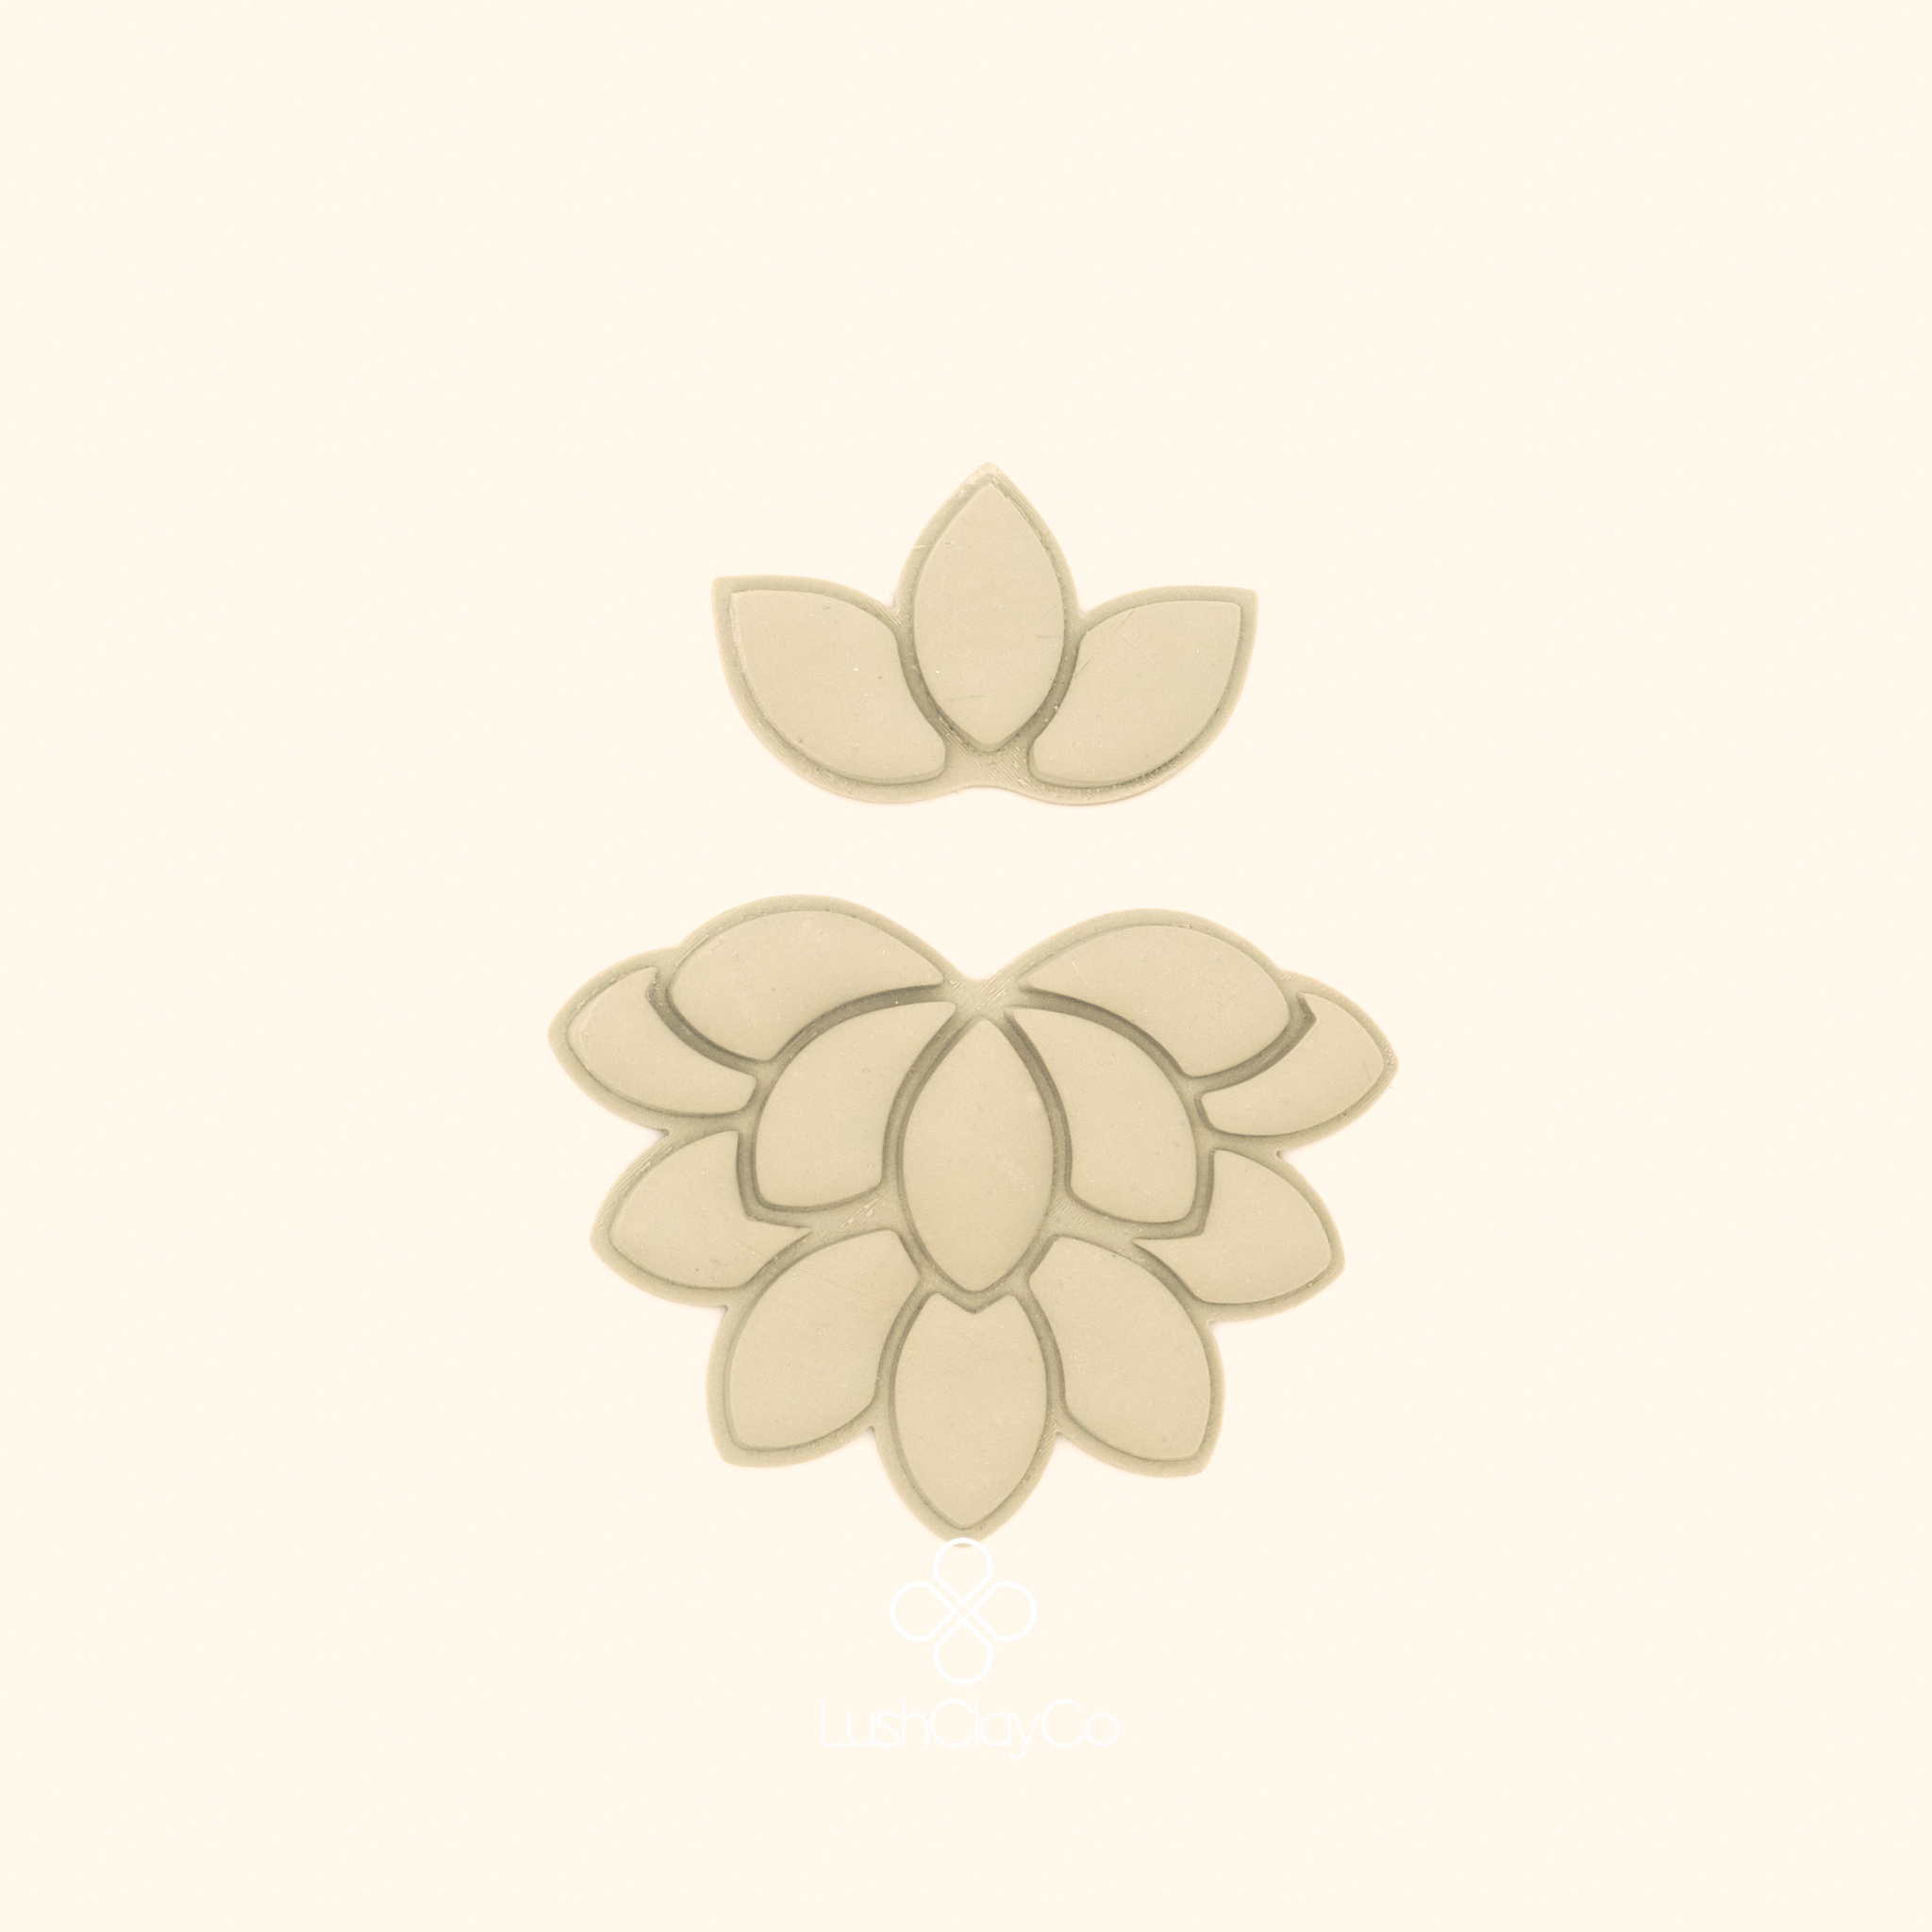
LushClayCo cutters are designed with collection-building in mind. Each design produces a consistent, repeatable shape that works well alongside other pieces from the range. Browse the full shop to find shapes that fit your aesthetic and build from there.
Starting with three or four complementary shapes in two or three colourways gives you enough variety to offer a small collection without becoming overwhelmed. From there, expand gradually as your confidence and technique develop.