If you are just starting out with polymer clay earrings, choosing the right polymer clay cutters for earrings is one of the most important decisions you will make early on. The wrong cutter makes everything harder. The right one makes clean, consistent shapes feel straightforward from day one.
This post covers what to look for, how to use them well, and what to expect as a beginner.
Table of Contents
What Makes a Good Polymer Clay Cutter
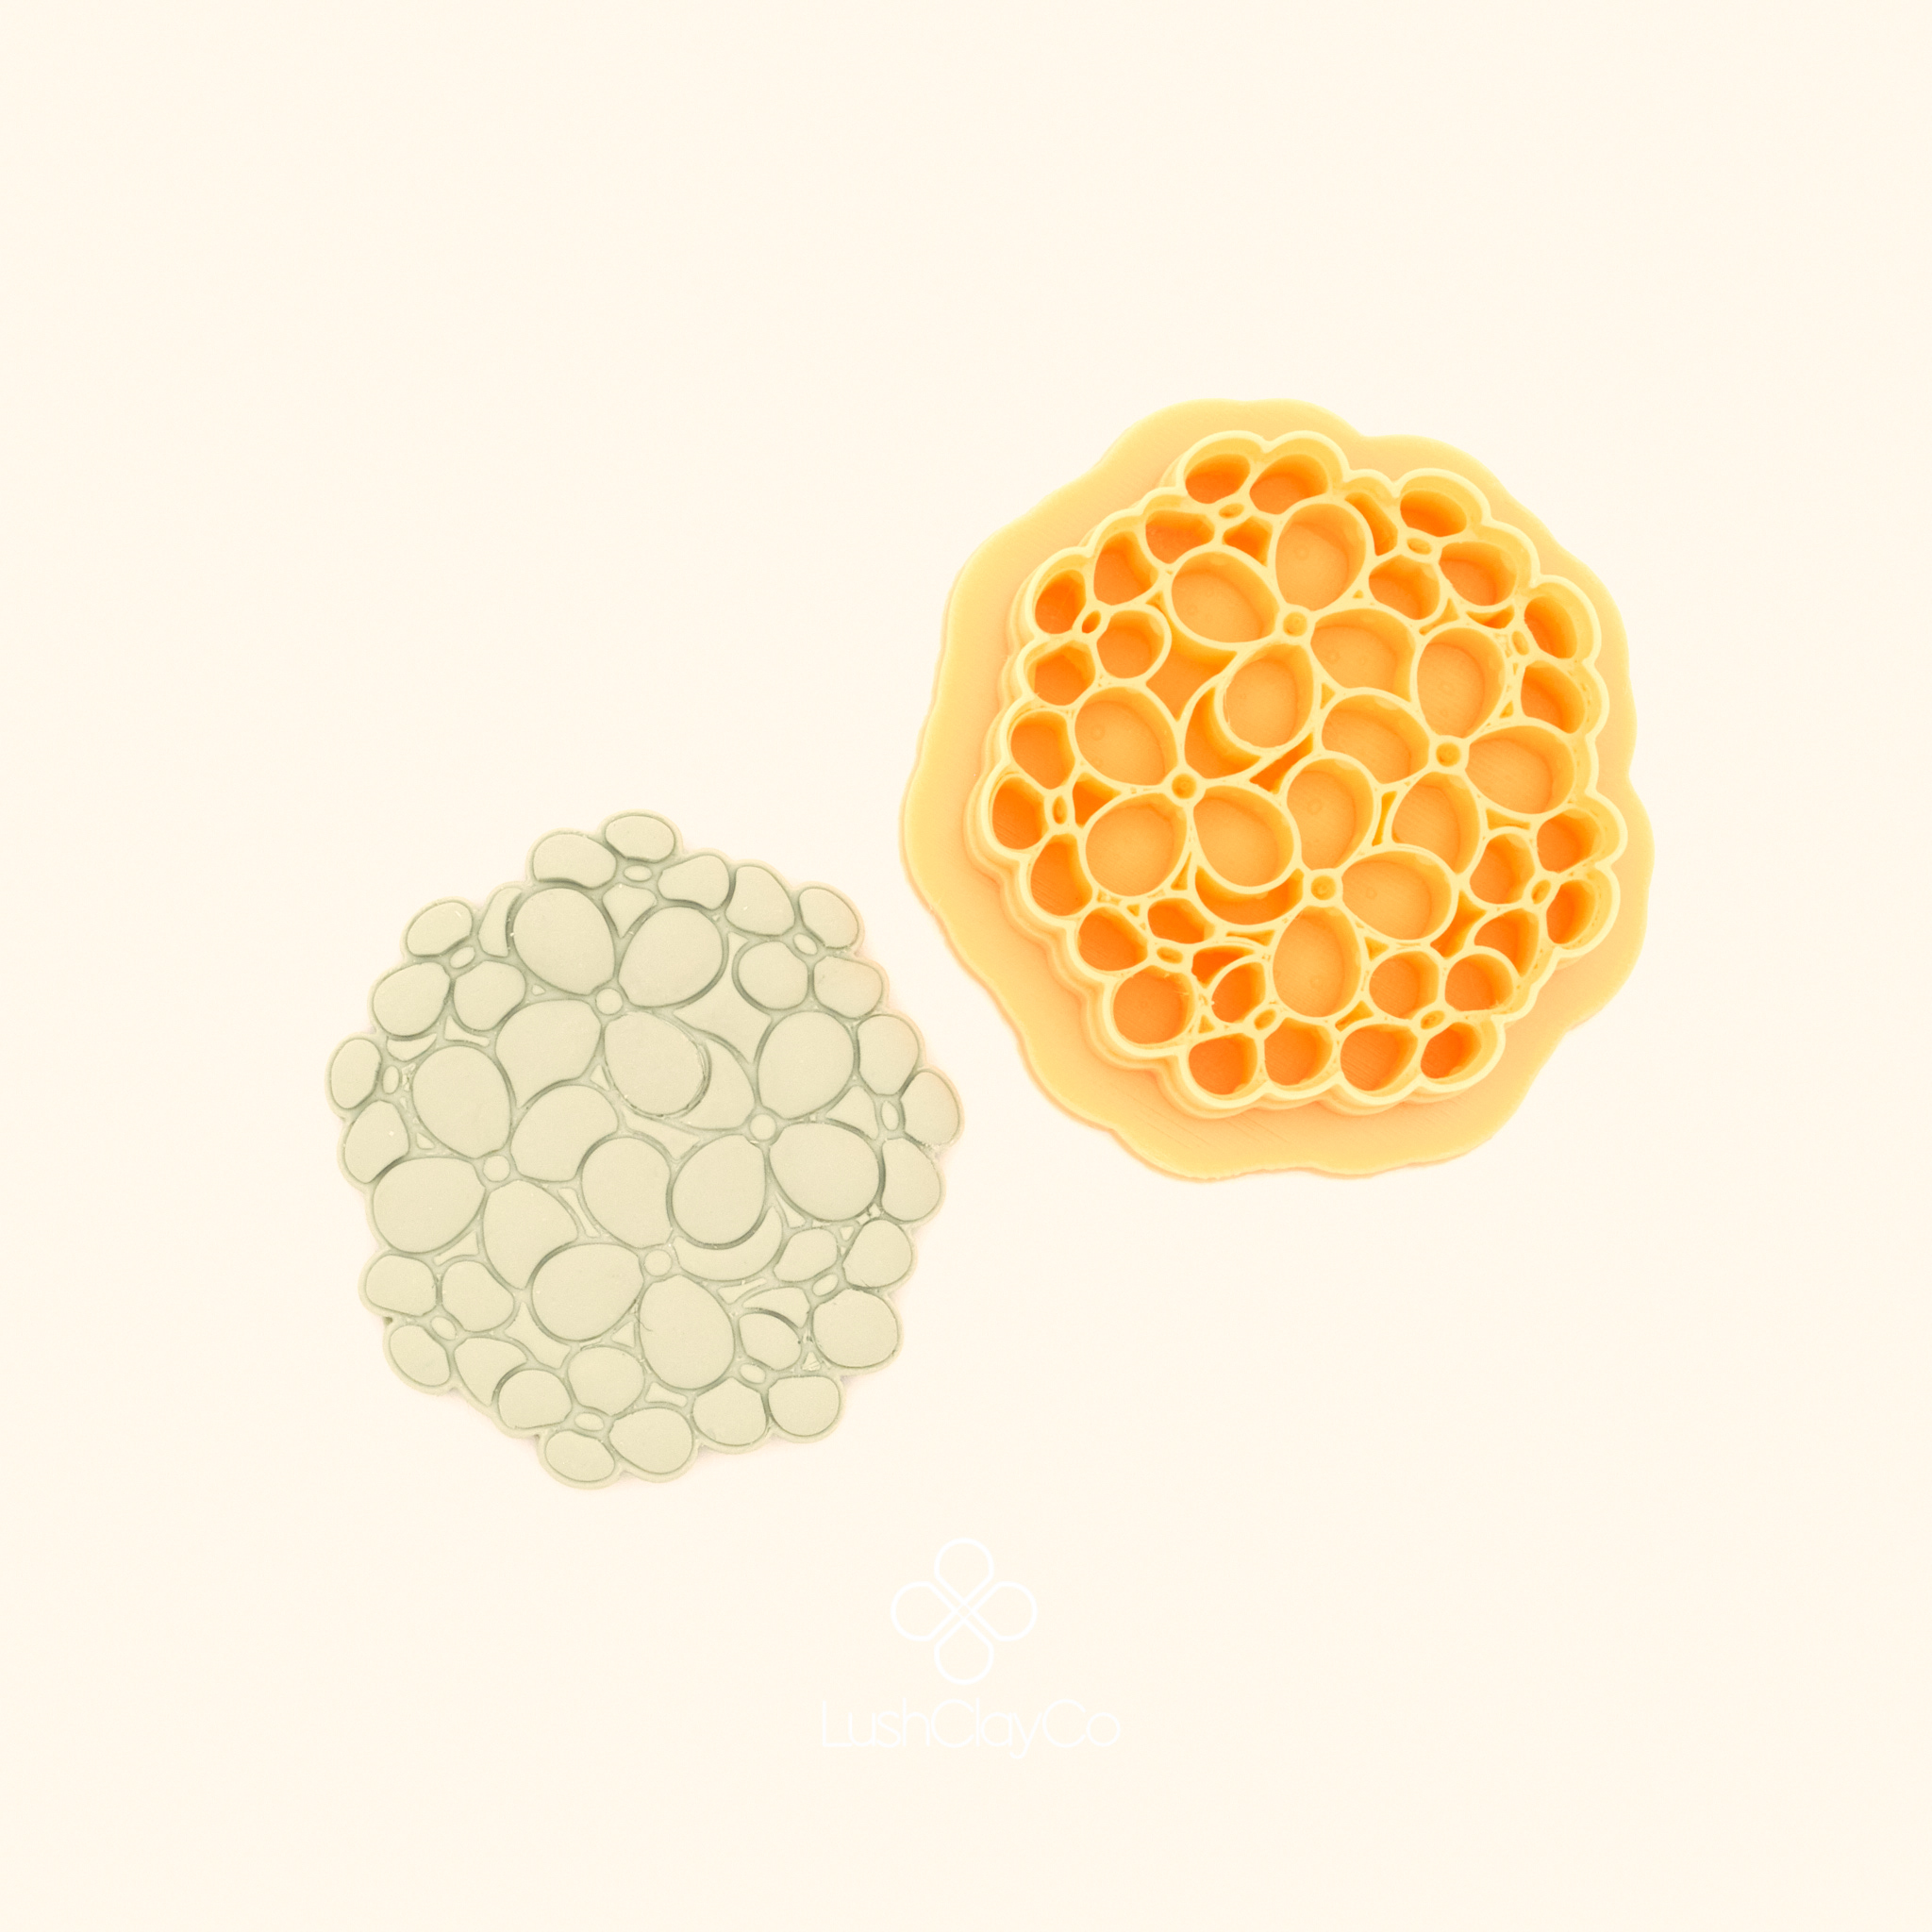
Not all polymer clay cutters for earrings are the same. The key difference is the cutting edge. A well-made cutter has a tapered blade wall of 0.4mm or less. This thin edge slices through clay rather than dragging through it, which is what causes the ragged, torn edges beginners often blame on their technique.
Other things to look for:
A taller wall, around 13mm, gives you more control when pressing down. A sturdy handle prevents the polymer clay cutters for earrings from bending under pressure. And a consistent edge all the way around the shape means every cut releases cleanly, not just the straight sides.
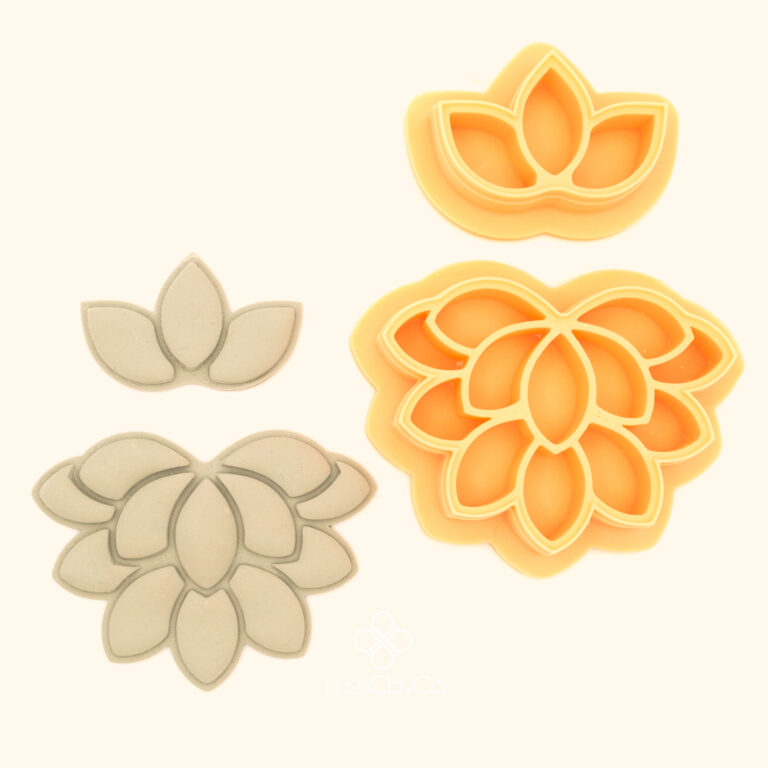
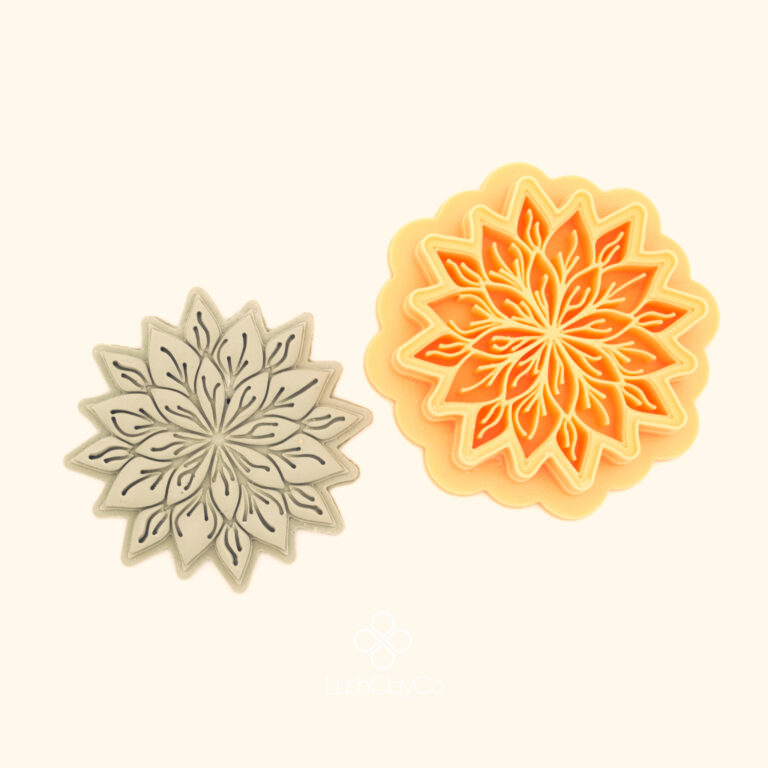
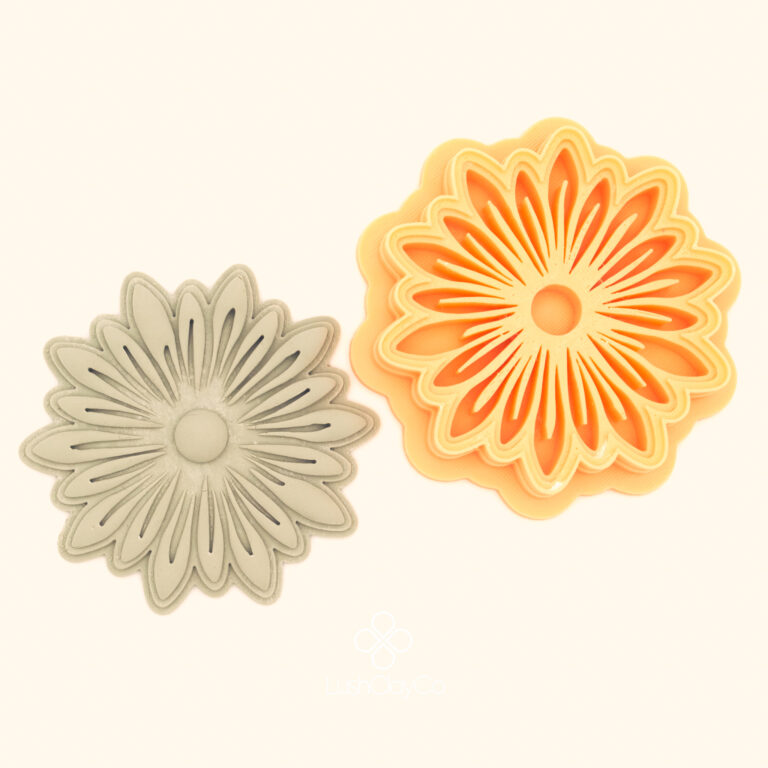
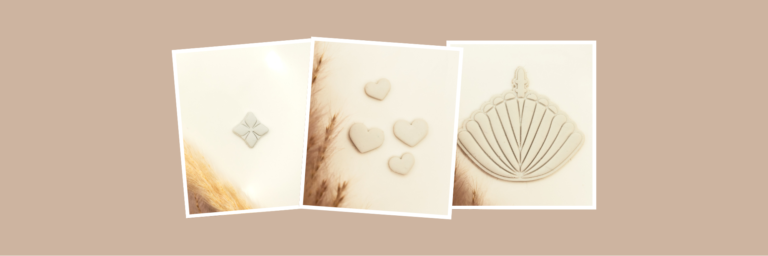
Shapes to Start With
If you are buying your first set of polymer clay cutters for earrings, start with shapes that have clean, simple outlines. Circles, arches, teardrops, and basic florals are all good entry points. They are forgiving when you are still getting the hang of your slab thickness and cutting pressure.
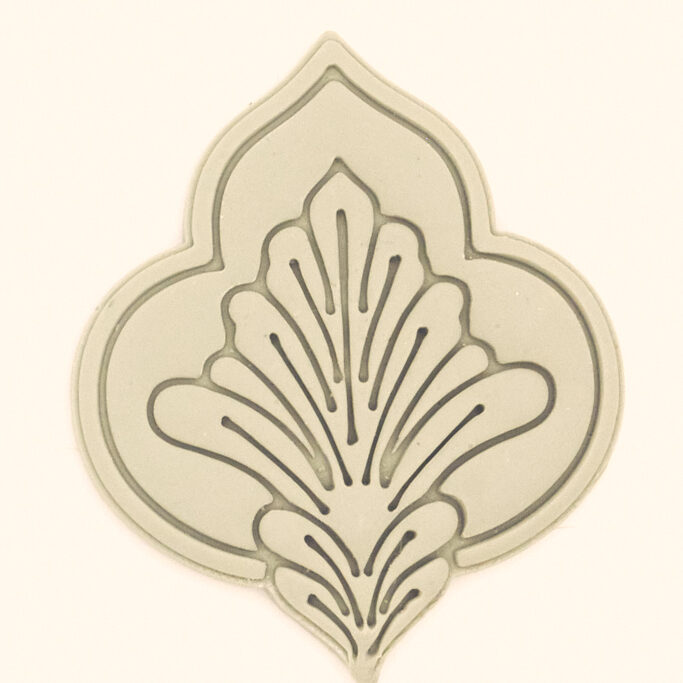
Intricate designs with tight internal corners, like detailed botanicals or fine geometric shapes, are more rewarding once you have the basics down. A good example of a detailed design polymer clay cutters for earrings is the Karanfil Scroll, which has enough structure to show you exactly where your edge quality is at.
How to Get a Clean Cut Every Time
Roll your clay on a smooth non-porous surface like glass or an unglazed tile. Dust lightly with cornstarch before cutting to prevent sticking.
Press straight down and lift straight up. Most torn edges come from twisting or rocking the cutter on the way out, not from the cutter itself.
If you want a softly rounded top edge rather than a sharp one, lay a sheet of plastic wrap over your slab before pressing the cutter down. It takes about two seconds and gives a much more finished look without any extra work.
Caring for Your Cutters
3D printed polymer clay cutters for earrings are durable but the cutting edge is fine, so treat it accordingly. Clean with cool water and a soft brush after each session. Do not soak them, put them in the dishwasher, or leave them in direct sunlight. Store them flat so the edge does not catch on anything.
If clay is sticking inside the cutter, more cornstarch is usually the fix. A dry paintbrush works well for sweeping excess starch away after each cut.
A Note on Size
Earring cutters typically come in sizes ranging from around 0.67 inches up to 1.5 inches or larger. For studs, smaller sizes in the 0.67 to 0.75 inch range work well. For dangle earrings, 1 to 1.25 inches gives you enough surface area to show off the shape without the piece becoming heavy. Most makers end up using a mix across both ranges.
Common Beginner Mistakes to Avoid
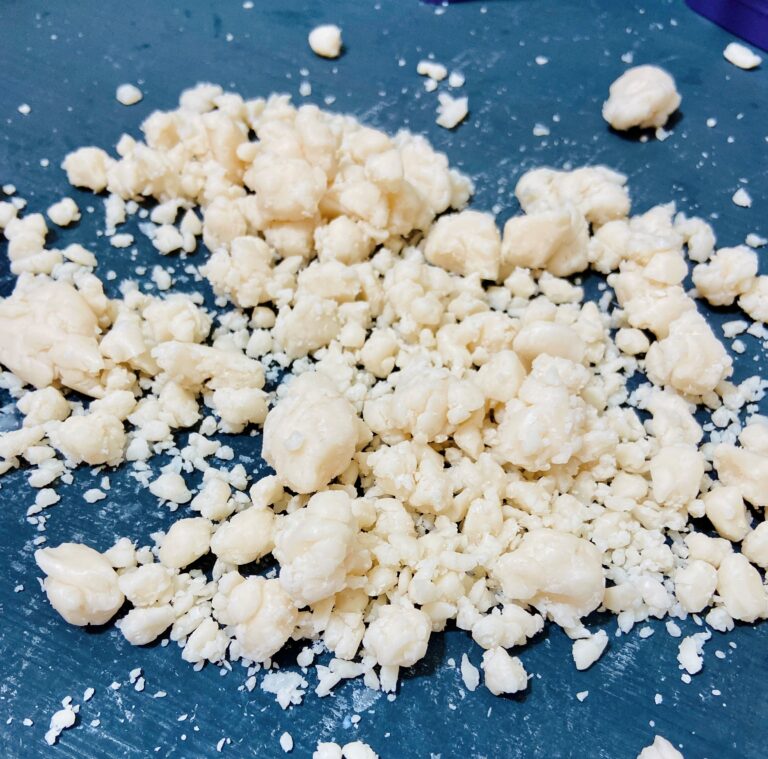
Clay too thick or too thin is one of the most common issues. Most earring pieces work best at 2 to 3mm thickness. Too thin and the cutter tears through rather than slices. Too thick and the shape becomes heavy and unwearable. A pasta machine or acrylic roller with thickness guides takes the guesswork out of this.
Skipping the bake check is another one. Most polymer clays cure at 110 to 130 degrees Celsius. Home ovens often run hotter or cooler than the dial says, so a standalone oven thermometer is worth having. Under-baked clay stays brittle and snaps easily. Over-baked clay discolours and can scorch.
Finally, a lot of beginners reach for sandpaper the moment something looks slightly off. Before you do that, try a cotton swab dipped in 100% acetone wiped gently over the raw piece before it goes in the oven. It dissolves fingerprints and small surface bumps at the clay stage, which is much faster than sanding after the bake.