Table of Contents
Learning how to use polymer clay cutters is the fastest way to go from uneven, hand-cut shapes to crisp, repeatable pieces that look professional. The cutters do the hard work of shaping and detailing in a single press, but a few simple habits around prep, pressure, and baking make the difference between ragged edges and clean ones. This guide walks a beginner through the whole process, one step at a time.
What Polymer Clay Cutters Do
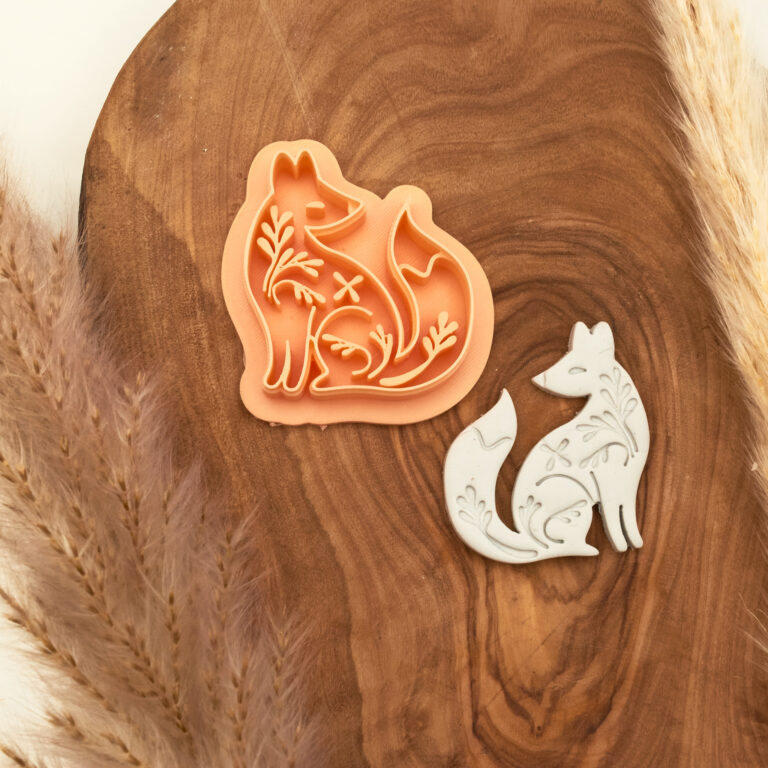
A polymer clay cutter cuts the outer shape and, on embossing designs, presses the inner detail into the clay at the same time. This means intricate ornament that would take a long time to carve by hand arrives in one clean motion. The quality of the result comes down to two things: the sharpness of the cutter and how you use it. Both are easy to get right once you know what to look for.
Step 1: Condition and Roll Your Clay
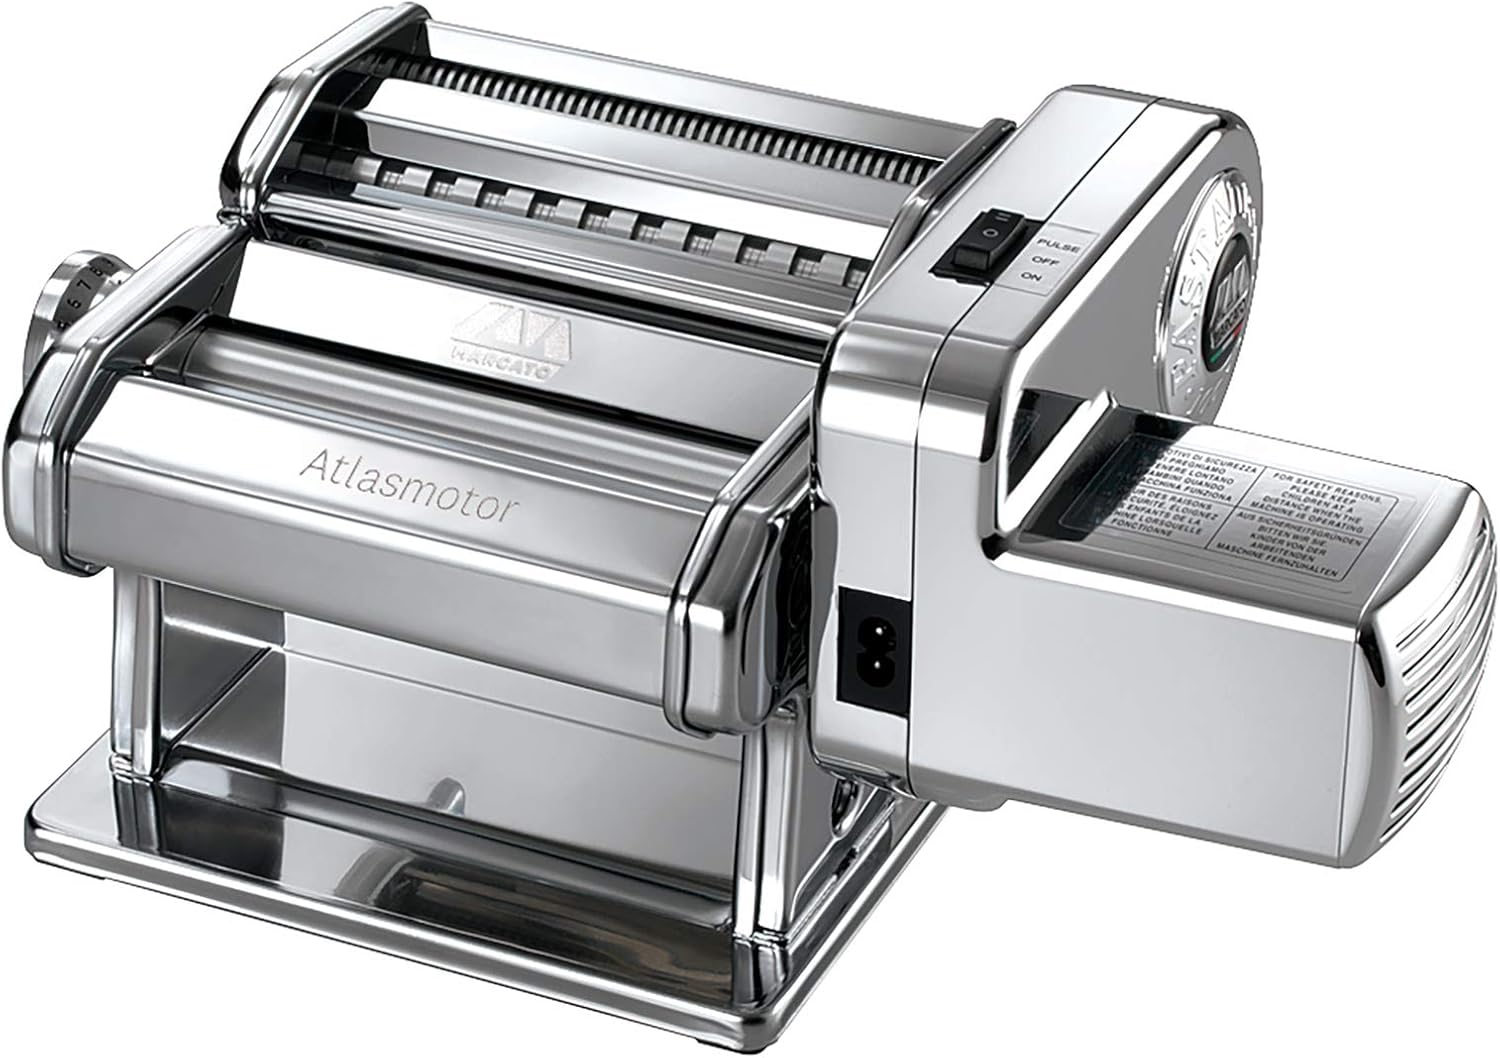
Cutting starts before the cutter touches the clay. Condition your clay fully so it is smooth and pliable, since under-conditioned clay tears at the edges no matter how sharp the cutter is. Brands like Sculpey and Fimo condition well by hand. If you do not have a pasta machine, our guide to conditioning polymer clay without a pasta machine covers the hand method. Roll your slab to an even 2 to 3mm on a non-porous surface like glass or an unglazed tile.
Step 2: How to Use Polymer Clay Cutters for a Clean Cut
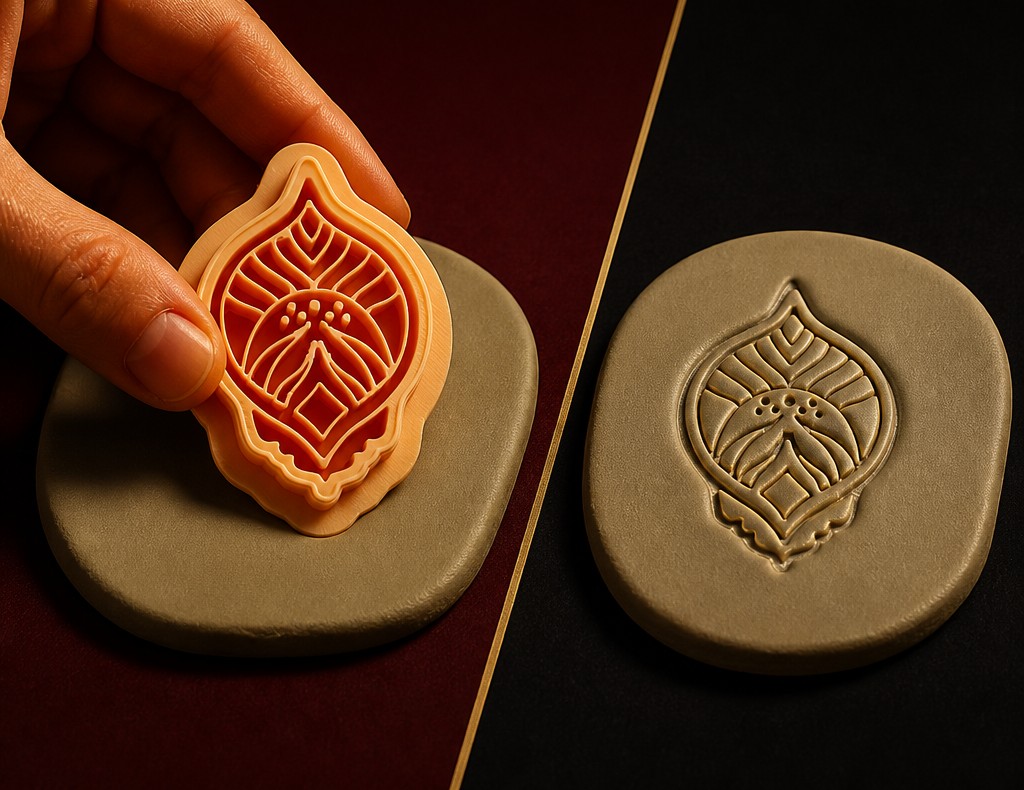
This is the core of how to use polymer clay cutters well. Dust the top of the slab lightly with cornstarch to stop the clay sticking inside the cutter. Press the cutter straight down with even pressure and lift straight up in one motion. The single most common cause of torn edges is rocking or twisting the cutter as you lift, so keep the movement straight. A dry brush sweeps away any excess cornstarch afterwards.
Step 3: Soften the Top Edge (Optional)
For a rounded, finished top edge instead of a sharp one, lay a sheet of plastic wrap over the slab before you press the cutter down. The wrap domes the edge gently as it cuts, which gives a more polished look with no extra sanding. It takes a couple of seconds and makes a noticeable difference on earrings.
Step 4: Clean and Bake
Before baking, wipe each piece with a cotton swab dipped in 100% acetone to lift fingerprints and surface marks at the clay stage, which is far faster than sanding later. Then bake according to your clay brand, checking the temperature with a standalone oven thermometer. Our full guide to how long to bake polymer clay covers times and temperatures for every major brand.
Choosing Cutters That Cut Cleanly
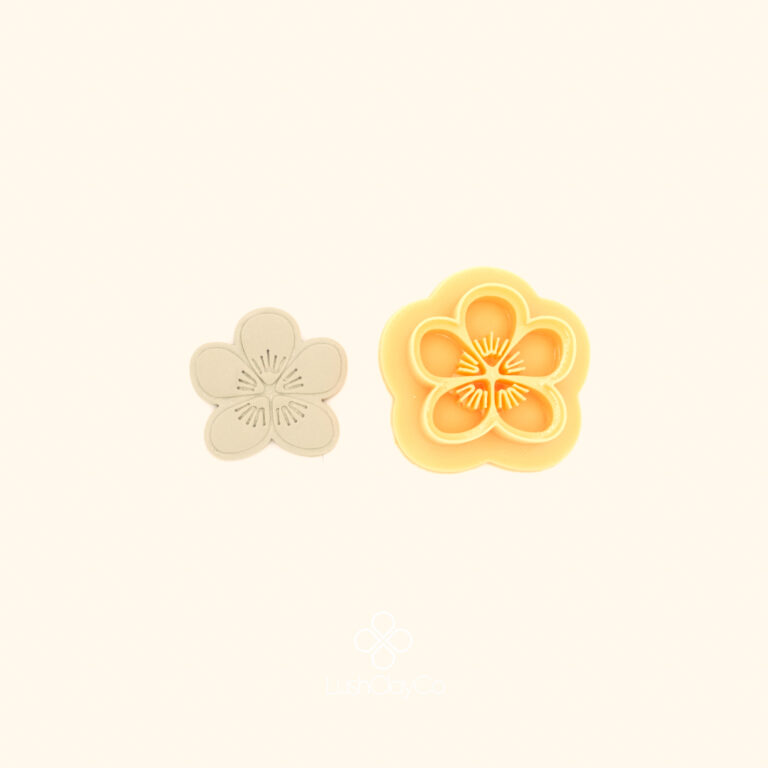
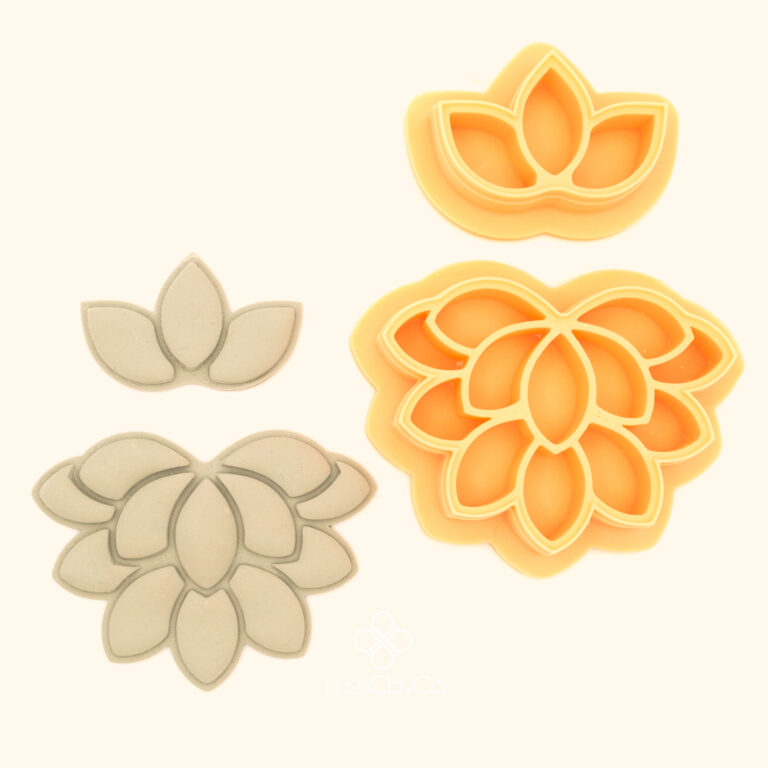
Technique only goes so far if the cutter itself is thick-walled and dull. Look for a tapered cutting edge of 0.4mm or less, which slices through clay rather than dragging through it. The whole range of polymer clay cutters at LushClayCo is printed at 0.35mm and tested in clay before release. For small stud-sized pieces, browse the stud cutters, and for layered blooms the floral cutters are a good place to start. If you want to understand why edge quality matters so much, our guide to sharp polymer clay cutters goes deeper.
Common Beginner Mistakes
Part of learning how to use polymer clay cutters is knowing what trips people up. The three most common issues are under-conditioned clay, twisting the cutter on the lift, and skipping the oven thermometer. Fix those and the majority of ragged edges and brittle pieces disappear. Cut all your shapes first before assembling, work on a clean surface, and let baked pieces cool completely before handling, since warm clay dents and warps easily.
Start Cutting
Now that you know how to use polymer clay cutters, the design possibilities open up quickly. Browse the full range of polymer clay cutters, each drawn from scratch and tested in clay, and start with a couple of simple shapes before moving on to more detailed designs.
How do you use polymer clay cutters for clean edges?
The key to how to use polymer clay cutters cleanly is fully conditioned clay, a light dusting of cornstarch, and pressing straight down and straight up without twisting. Rocking the cutter on the lift is the main cause of torn edges.
Do you need to sand polymer clay after cutting?
Not if you start with a sharp cutter and clean each piece with 100% acetone before baking. A cutter with a 0.4mm or thinner edge slices cleanly, which removes most of the need for sanding.
How thick should polymer clay be for cutting earrings?
Roll your slab to an even 2 to 3mm for earrings. This is thin enough to stay lightweight and wearable but thick enough to hold detail and cut cleanly.